
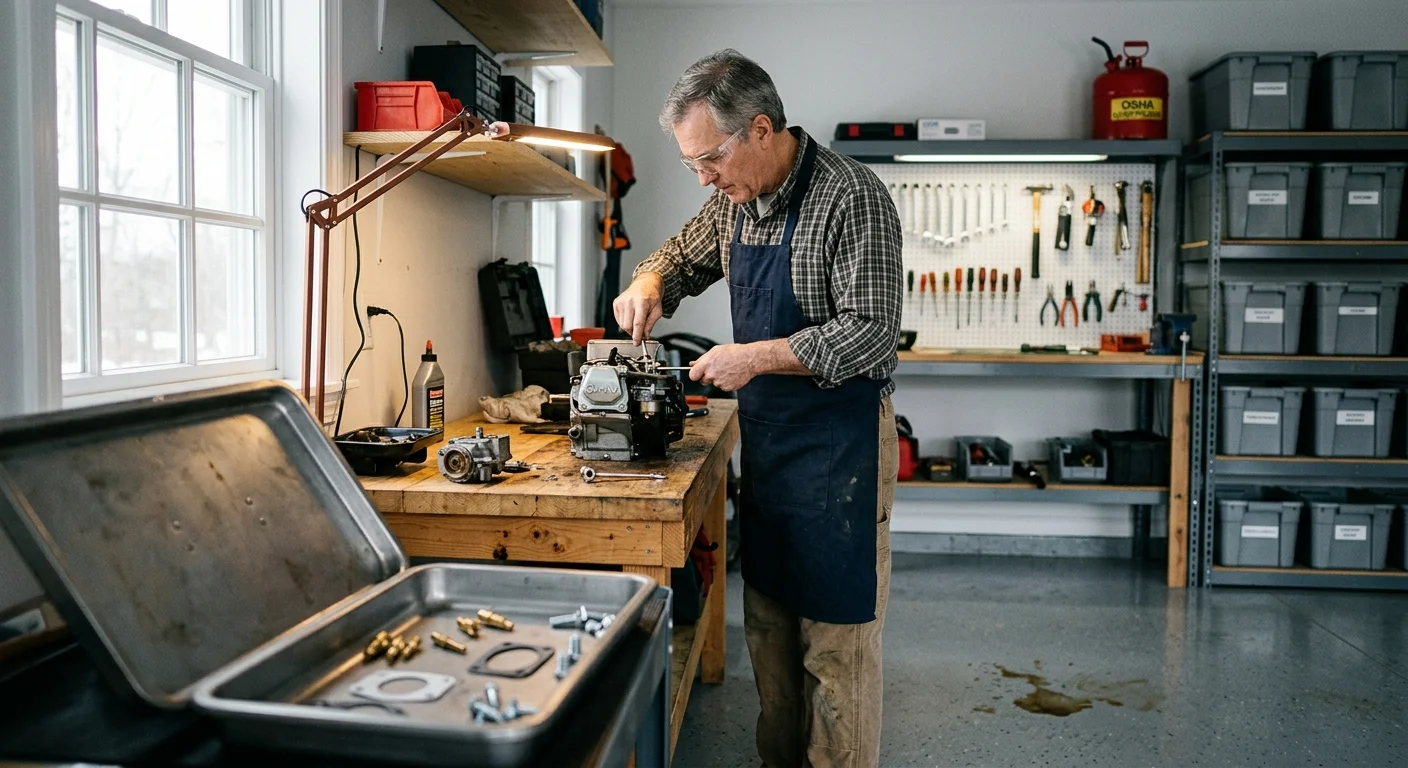
Transform your clean workspace into a profitable small engine repair side business without violating municipal codes or working for free. You can earn an extra $800 to $1,500 monthly servicing neighborhood mowers during retirement.
For retirees who want structured, predictable income without heavy physical labor, running a mobile loan signing route offers another dependable pathway to boost monthly earnings.
Mastering small engine care is a practical extension of essential home repair DIY skills that can easily turn routine tinkering into a dependable income stream.
You do not need commercial industrial zoning or expensive dealer infrastructure to run a successful workshop from home.
Pairing OSHA flammable liquid compliance with a $70 ultrasonic cleaner and non-refundable $35 bench fee guarantees safe operation and upfront profitability. This complete blueprint provides the exact regulatory rules, diagnostic workflows, and flat-rate pricing models you need.
Navigating OSHA 1910.106 and Municipal Garage Fire Codes
Launching a home garage lawnmower repair shop requires strict adherence to fuel storage regulations. Gasoline features a volatile flashpoint of approximately -45°F, making proper containment your primary safety priority.
Understanding local commercial ordinances is equally critical when launching neighborhood ventures such as an independent walking tour business requiring permits.
If garage ventilation constraints make fuel handling difficult, you can explore fume-free crafts like apartment Japanese hand-tool joinery to keep building projects indoors.
Retirees looking for community impact alongside mechanical work can also look into how Mark created a suburban community repair café to share tools and manage local zoning rules.
Federal standard OSHA 29 CFR 1910.106(a)(29) defines an approved safety container as an NRTL-certified can of five gallons or less. These cans must include a spring-closing lid, spout cover, and internal flame-arresting screen.
Never store bulk fuel in standard consumer plastic jugs inside an active workspace. You can review commercial safety practices through SCORE Mentoring to align your workshop with professional garage risk-management standards.
Under OSHA 29 CFR 1910.106(e)(2)(ii)(b), flammable liquid storage outside designated fire cabinets cannot exceed 25 gallons in a single area. However, local residential building codes enforce far tighter restrictions on attached residential structures.
Most municipalities enforcing International Fire Code Section 5704 or NFPA 30 cap fuel inside attached residential garages at 5 to 10 gallons. Detached outbuildings or dedicated garden sheds typically allow storage up to 25 gallons in certified cans.
Elevate all fuel containers at least 18 inches above the garage floor slab. This elevation keeps heavy evaporating vapors away from natural ignition sources, including water heater pilot lights and furnace igniters.
Implement these four mandatory fire safety safeguards before accepting customer equipment:
- Mount a 2-A:10-B:C dry chemical fire extinguisher between 10 and 25 feet from your work bench per OSHA 1910.106(d)(7)(i).
- Store draining pans in dedicated steel safety cabinets if your chemical inventory exceeds standard 5-gallon working limits.
- Install a commercial vapor-sensing smoke and combustible gas alarm directly above your primary mechanical workbench.
- Place a 5-gallon metal spill bucket containing clay absorbent pellets beside your fluid transfer station.
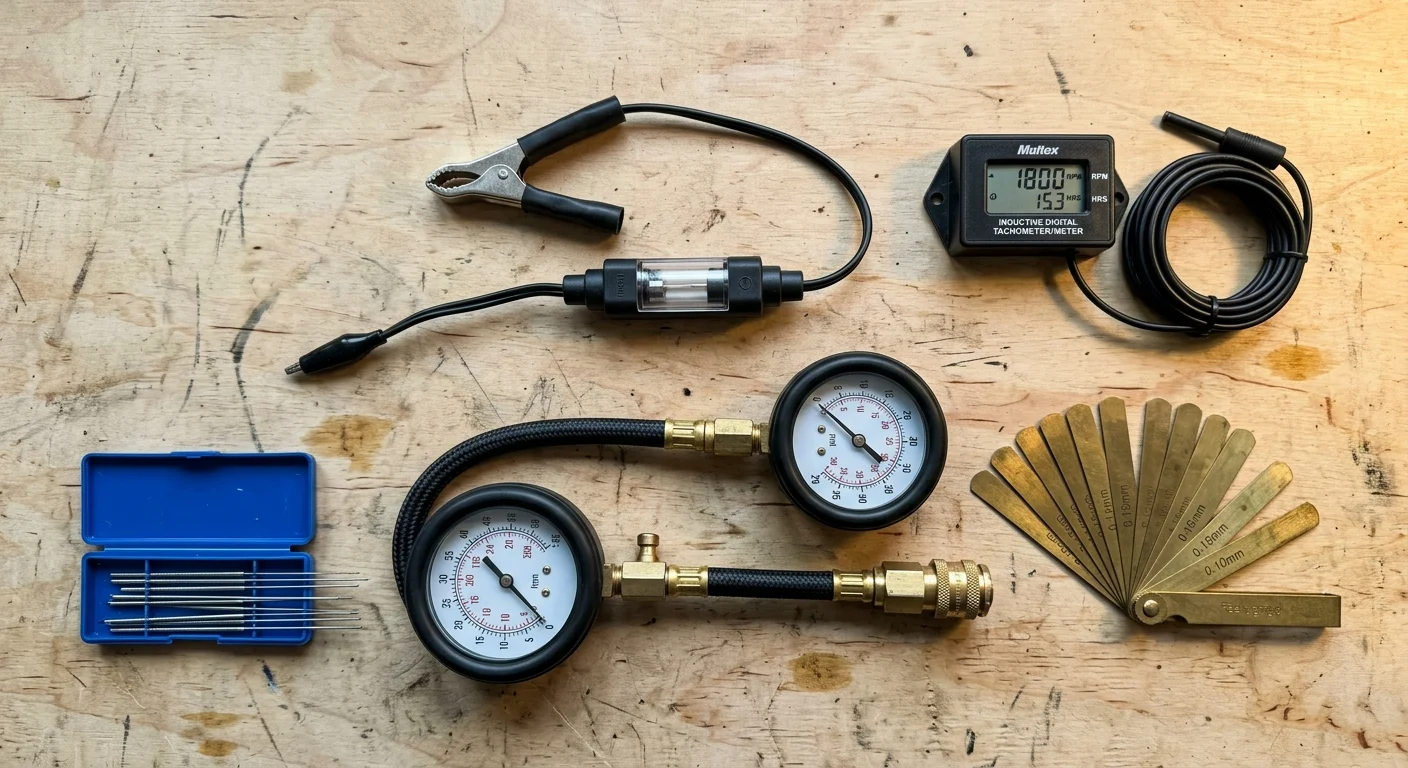
Essential Diagnostic Tooling: Core Investments Under $300
Systematic troubleshooting separates profitable part time small engine service technicians from frustrated hobbyists who waste hours swapping random parts. Accurate diagnostic tools identify mechanical failures within 10 minutes of intake.
Setting up a disciplined home workspace follows the same principles whether tuning carburetors or restoring antique books at home with dedicated hand tools.
Similar to the methodical diagnostics used when restoring a classic car, proper test instruments eliminate guesswork before you turn a single wrench.
Begin with an adjustable gap ignition tester costing between $10 and $25. This tool verifies whether an ignition coil can jump a 6-millimeter test gap under atmospheric load.
Add a mechanical cylinder compression tester equipped with 10 mm, 12 mm, and 14 mm threaded brass adapters. Quality universal test kits cost between $25 and $50 and quickly identify failed rings or scored cylinder walls.
A dual-gauge cylinder leak-down tester represents your most advanced diagnostic asset, costing between $40 and $85. Supplying compressed air at 60 PSI into the spark plug hole pinpoints failing exhaust valves, intake valves, or head gaskets.
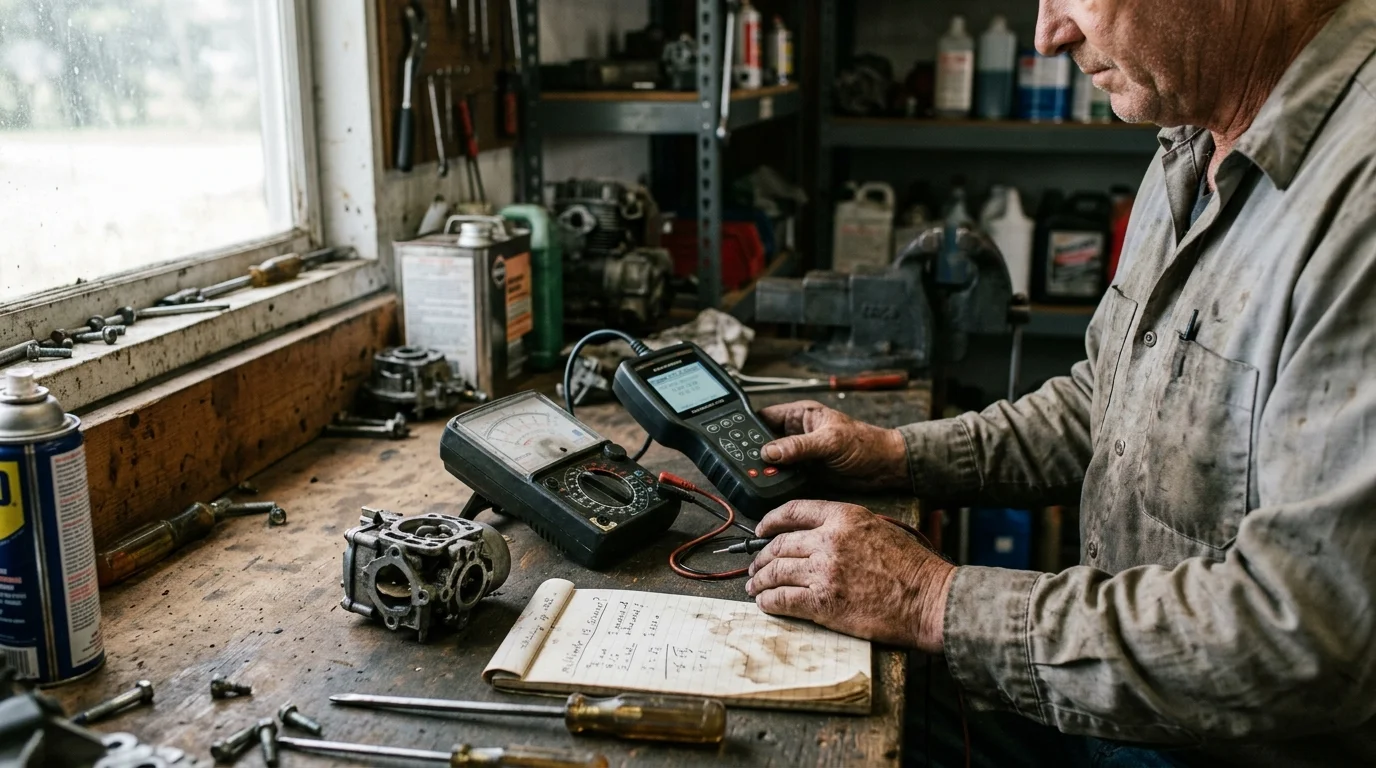
Invest $30 to $70 in a digital automotive multimeter featuring min-max recording capabilities. You will use it to test safety interlock switches, diode rectifiers, and flywheel charging stators on modern lawn tractors.
Complete your diagnostic package with a digital induction tachometer costing between $15 and $35. Wrapping its sensor lead around the high-tension spark wire lets you set governed top speeds precisely to manufacturer specifications.
Execute this five-step diagnostic sequence whenever equipment arrives with a “cranks but will not run” complaint:
- Connect your spark tester to verify bright blue ignition spark while pulling the recoil starter at normal speed.
- Spray two ounces of aerosol carburetor cleaner directly into the intake tract to check for immediate combustion.
- Thread your compression gauge into the cylinder head to confirm static cylinder pressure exceeds 60 PSI past the compression release mechanism.
- Connect your leak-down tester at top dead center to verify total chamber pressure loss remains below twenty percent.
- Use your multimeter to measure safety ground-wire continuity and ensure the ignition coil ground circuit disengages properly.
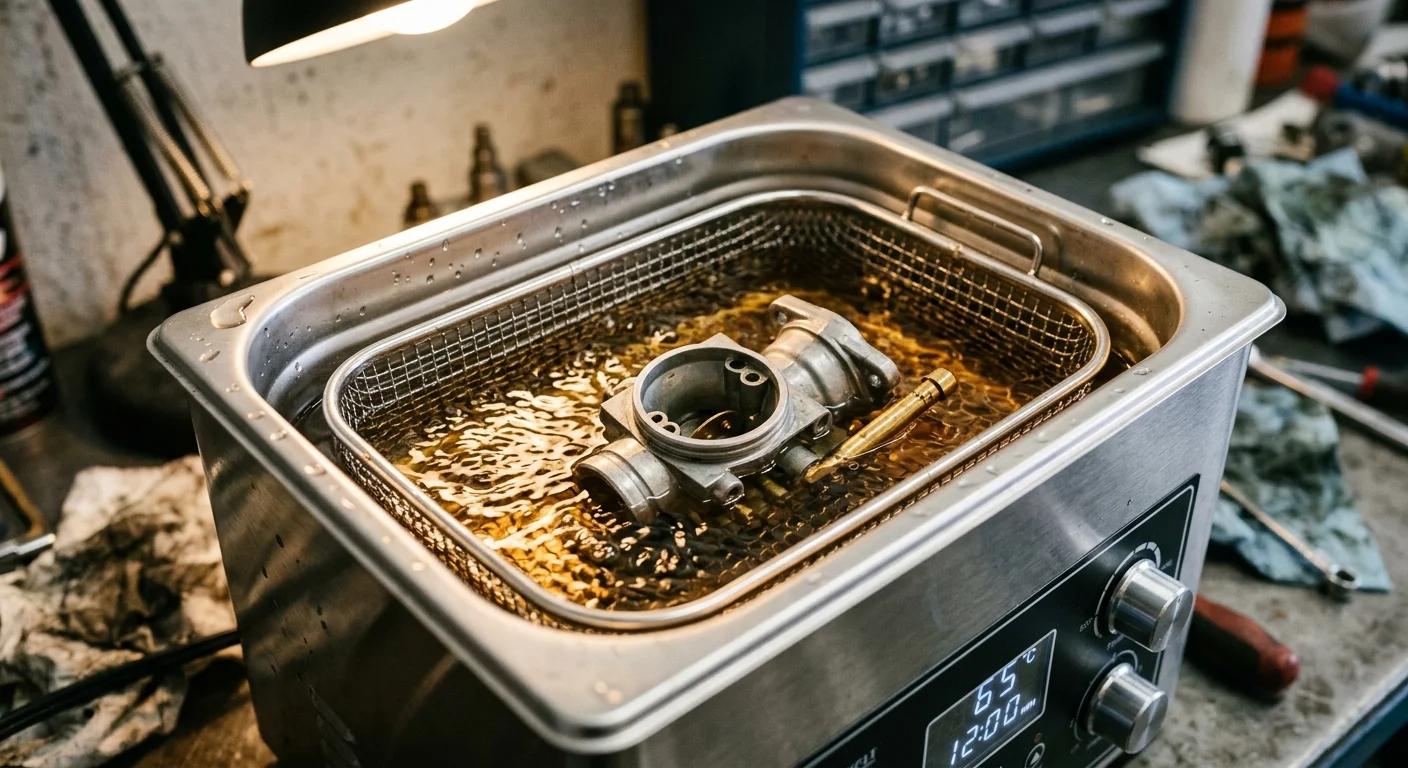
Selecting and Operating an Ultrasonic Carburetor Cleaner
Stale ethanol-blended pump fuel accounts for over eighty percent of all small engine operating failures. Modern E10 fuel absorbs moisture, evaporates inside vented float bowls, and deposits corrosive varnish across internal brass metering jets.
Maintaining good posture during intricate carburetor teardowns requires the same focus on bench ergonomics and safety that keeps retired craftspeople injury-free.
Poking metallic wires through tiny fuel orifices damages precision brass passages and ruins factory fuel curves. An ultrasonic heated parts cleaner utilizes microscopic cavitation bubbles to strip varnish from inaccessible internal passages safely.
Select a benchtop ultrasonic tank with a fluid capacity between 2 liters and 6 liters. Units featuring digital temperature controls and 40 kHz transducer frequencies cost between $70 and $180 online.
A 2-liter tank cleans single-cylinder push mower carburetors easily, while a 6-liter tank accommodates twin-barrel commercial carburetors and chainsaw bodies simultaneously. Ensure your unit includes an integrated electrical heating element rated for at least 100 watts.
Mix your cleaning solution using a 10:1 ratio of distilled water to concentrated non-corrosive metal cleaner. Specialized non-acidic formulas protect aluminum housings from surface darkening during extended sonic cavitation cycles.
Follow these operational steps to restore gummed fuel systems to factory specifications:
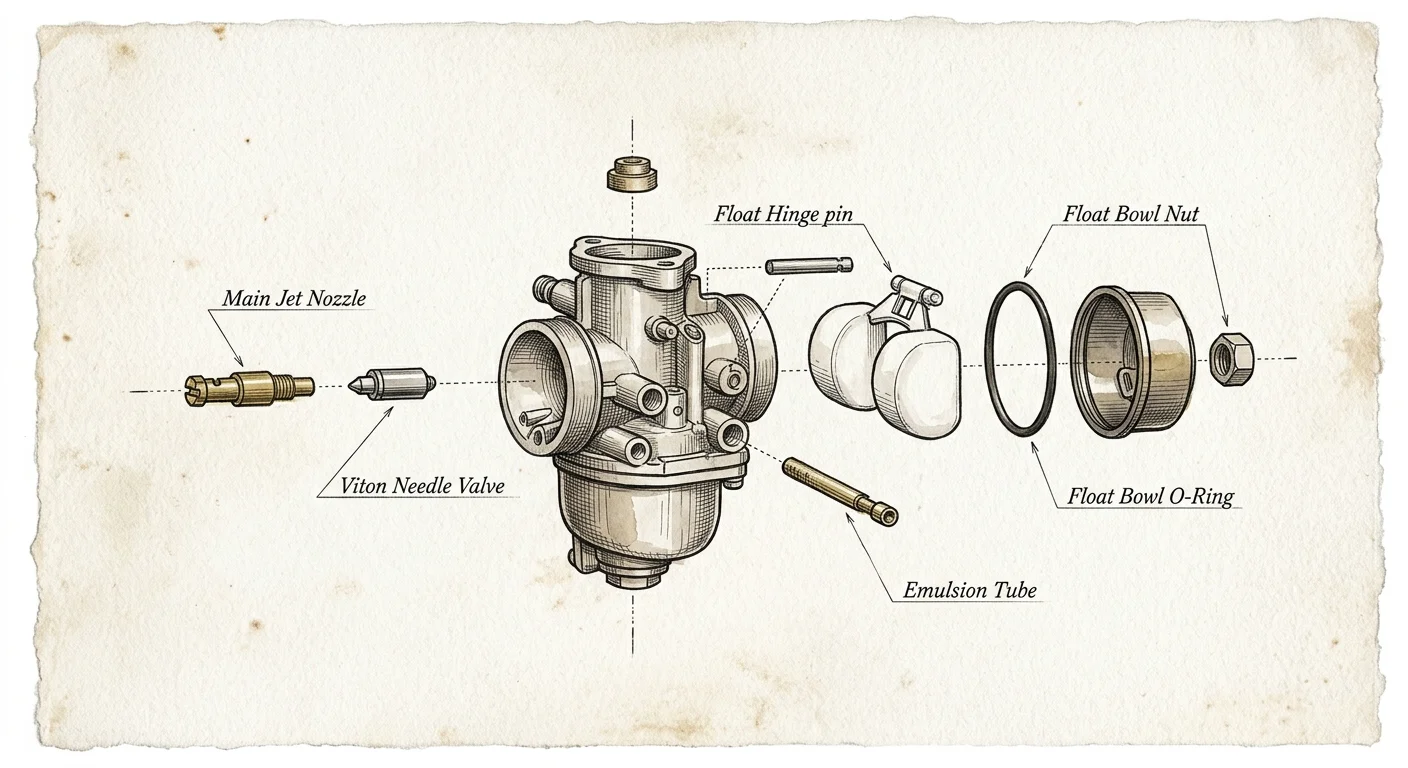
- Disassemble the carburetor completely, removing the float, float needle, rubber bowl gasket, and plastic emulsion tube.
- Preheat your ultrasonic water bath to a working temperature between 50°C and 60°C (122°F to 140°F).
- Place the aluminum carburetor body and brass metering jets inside the wire parts basket without touching the tank floor.
- Run a 20-minute sonic cleaning cycle while monitoring fluid agitation across the submerged component surfaces.
- Remove the components, rinse immediately with warm tap water, and blow dry every internal channel using 30 PSI compressed air.
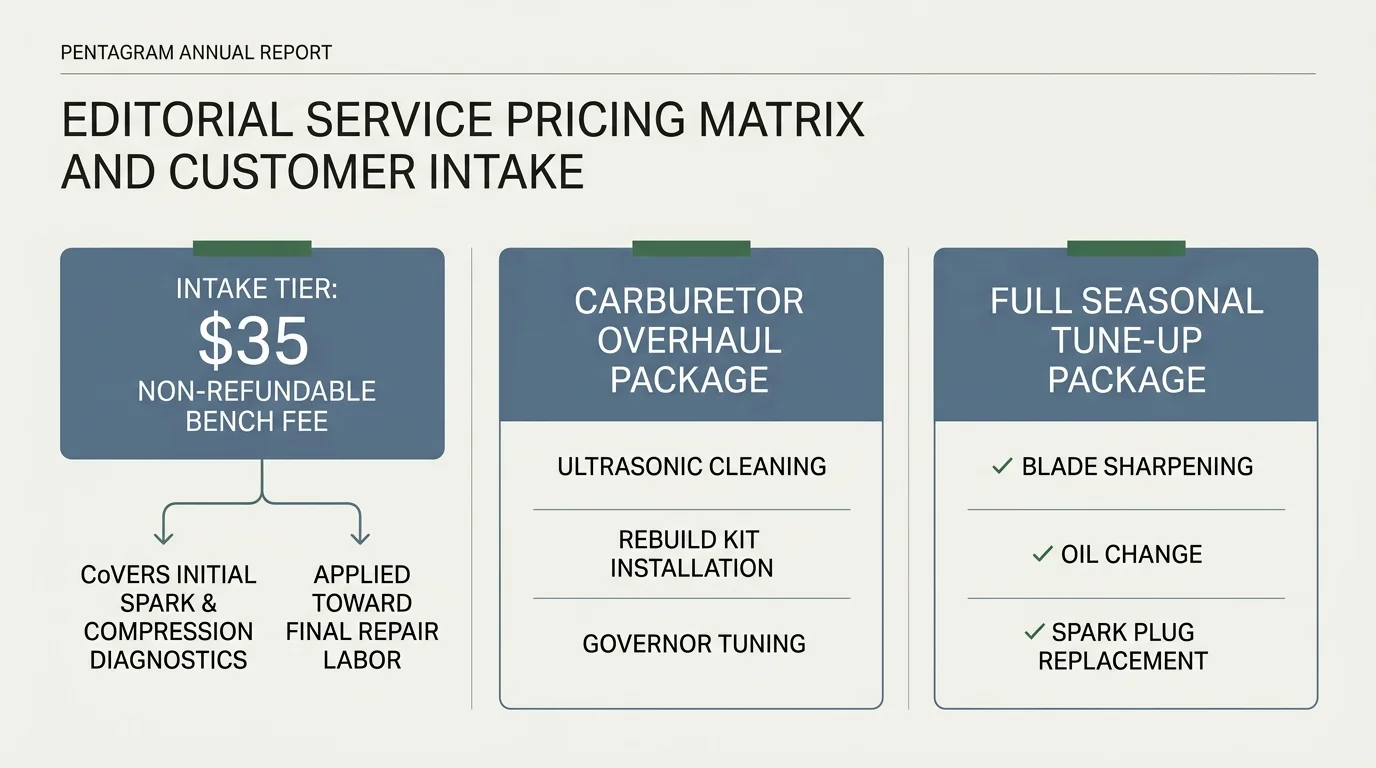
Setting Flat-Rate Bench Fees and Service Packages
Running a sustainable small engine repair side business requires firm billing boundaries. Never examine customer equipment for free under the promise of future repair authorization.
Partnering with neighbors running local ventures—like an operator managing a lawn to flower farm—can build a steady pipeline of commercial mower maintenance jobs.
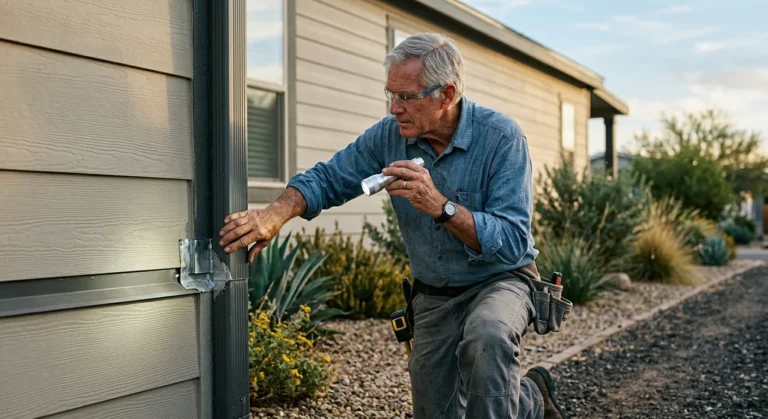
Establishing flat fees mirrors other technical second careers, such as working as a manufactured home inspector, where clear diagnostic tiers guarantee fair pay for your expertise.
Establish a non-refundable diagnostic bench fee of $35 to $65 for walk-behind mowers and handheld power equipment. Set your bench fee between $65 and $100 for riding mowers and two-stage snow blowers.
Collect this bench fee immediately upon drop-off before touching a single bolt. Credit the bench fee toward the customer’s final invoice if they authorize the recommended repair plan.
If the customer declines repairs because of catastrophic engine failure, you keep the bench fee for your diagnostic labor. This policy protects your shop from becoming a free disposal dump for abandoned equipment.
Independent garage technicians bill hourly rates between $60 and $90 per hour. This pricing structures your services attractively below franchised commercial dealerships charging $100 to $150 per hour.
Data from the U.S. Bureau of Labor Statistics (SOC 49-3053: Outdoor Power Equipment Mechanics) records a median hourly wage of $23.00. Setting your independent shop labor rate at $65 per hour comfortably covers overhead, consumable supplies, and healthy net profit.
Offer standard service packages using these market-tested flat rates:
- Walk-behind mower seasonal maintenance (oil, spark plug, air filter, blade sharpening): $75 to $120 plus parts.
- Ultrasonic carburetor restoration and fuel circuit overhaul: $60 to $85 plus replacement gaskets.
- Mower blade sharpening, mechanical balancing, and deck scraping: $15 to $25 per blade.
- Chainsaw bar dressing, sprocket inspection, and chain sharpening: $20 to $30 per unit.
Worked Example: Complete Push Mower Carburetor Overhaul
This worked example demonstrates exact financial, temporal, and mechanical metrics for a standard neighborhood repair. The customer delivers a 2021 Craftsman M230 push mower powered by a Briggs & Stratton 163cc 675EXi engine.
Transitioning technical troubleshooting into advisory roles shares many strategic steps with starting a consulting business in retirement based on your career experience.
Earning strong margins on straightforward jobs proves that turning hobbies into retirement income is both personally fulfilling and financially practical.
The mower surges violently under load and shuts down after thirty seconds of rough operation. The customer pays a $45 diagnostic bench fee upon drop-off on Saturday morning.
Intake diagnostics require exactly 12 minutes. An inline spark test shows excellent ignition, but fuel drawn from the drain bowl shows heavy water separation and cloudy varnish contamination.
You disassemble the air cleaner assembly, remove the plastic fuel tank bracket, and unseat the carburetor in 15 minutes. You extract the brass main fuel jet, measuring an orifice diameter of 0.028 inches.
Submerge the disassembled components into your 3-liter ultrasonic cleaner containing a 10:1 solution of distilled water and cleaner. Set the digital timer for 22 minutes at 55°C (131°F).
Dry all ports using compressed air and reassemble the fuel system with a new Viton O-ring kit costing $8.40 wholesale. Fresh ethanol-free 4-cycle fuel adds $4.20 in shop material expense.
Reinstall the assembly, start the engine on the first pull, and connect your inductive tachometer. Adjust the mechanical governor spring to stabilize the high-speed operating speed at 3,250 RPM.
The total labor investment measures 62 minutes from intake check-in to final wipedown. Here is the exact customer invoice breakdown:
- Carburetor ultrasonic overhaul service: $75.00 flat labor.
- Governor calibration and RPM setting: $15.00 flat labor.
- Briggs & Stratton OEM O-ring and seal kit: $16.50 retail ($8.40 wholesale cost).
- Ethanol-free test fuel and disposal fee: $6.00 shop charge.
- Subtotal invoice amount: $112.50.
- Applied intake bench fee deposit: -$45.00.
- Final balance due at customer pickup: $67.50.
Your shop generates $112.50 gross revenue against $12.60 in direct parts and fuel costs. You earn a net profit of $99.90 for approximately one hour of pleasant, focused shop work.
Side-by-Side Comparison: Essential Shop Equipment Options
Selecting reliable tooling avoids costly mid-season replacements. The following matrix details exact operational specifications, cost structures, and safety guidelines for outfitting your home repair workshop.
| Equipment Category | Recommended Specification | Price Range | Primary Function | Safety and Maintenance Standard |
|---|---|---|---|---|
| Ultrasonic Cleaner | 3-Liter Stainless Tank, 40 kHz, Heated | $75 – $110 | Dissolves fuel varnish in passages | Degas solution 5 minutes; never run tank dry |
| Cylinder Leak-Down Kit | Dual-Gauge Manometer with 0-100 PSI Range | $45 – $80 | Detects valve, ring, and gasket leaks | Lock engine flywheel at top dead center before air input |
| Automotive Multimeter | CAT III 600V with Inductive Clamp | $35 – $65 | Tests safety switches, coils, charging | Verify internal fuse condition before resistance testing |
| Digital Tachometer | Non-Contact Induction Wrap Sensor | $18 – $30 | Sets governed engine operating RPM | Keep sensor wire away from vibrating exhaust mufflers |
| Approved Fuel Safety Can | Type I Red Galvanized Steel, 5-Gallon | $45 – $75 | Stores operational fuel inventory | Ground metal spout; inspect internal flame arrestor screen |
Purchasing professional-grade baseline equipment ensures consistent diagnostic readings across every machine you service. These tools pay for themselves within your first five completed customer jobs.
Launching Your Neighborhood Service and Managing Workflow
A retirement business should enhance your lifestyle rather than recreate corporate stress. You control your schedule, accept the machines you enjoy, and decline projects that clutter your workspace.
Organizations like Encore.org celebrate practical encore careers that turn lifelong problem-solving skills into community assets. Repairing equipment keeps functional machines out of landfills while providing an active, engaging daily routine.
“It is never too late to be what you might have been.” — George Eliot
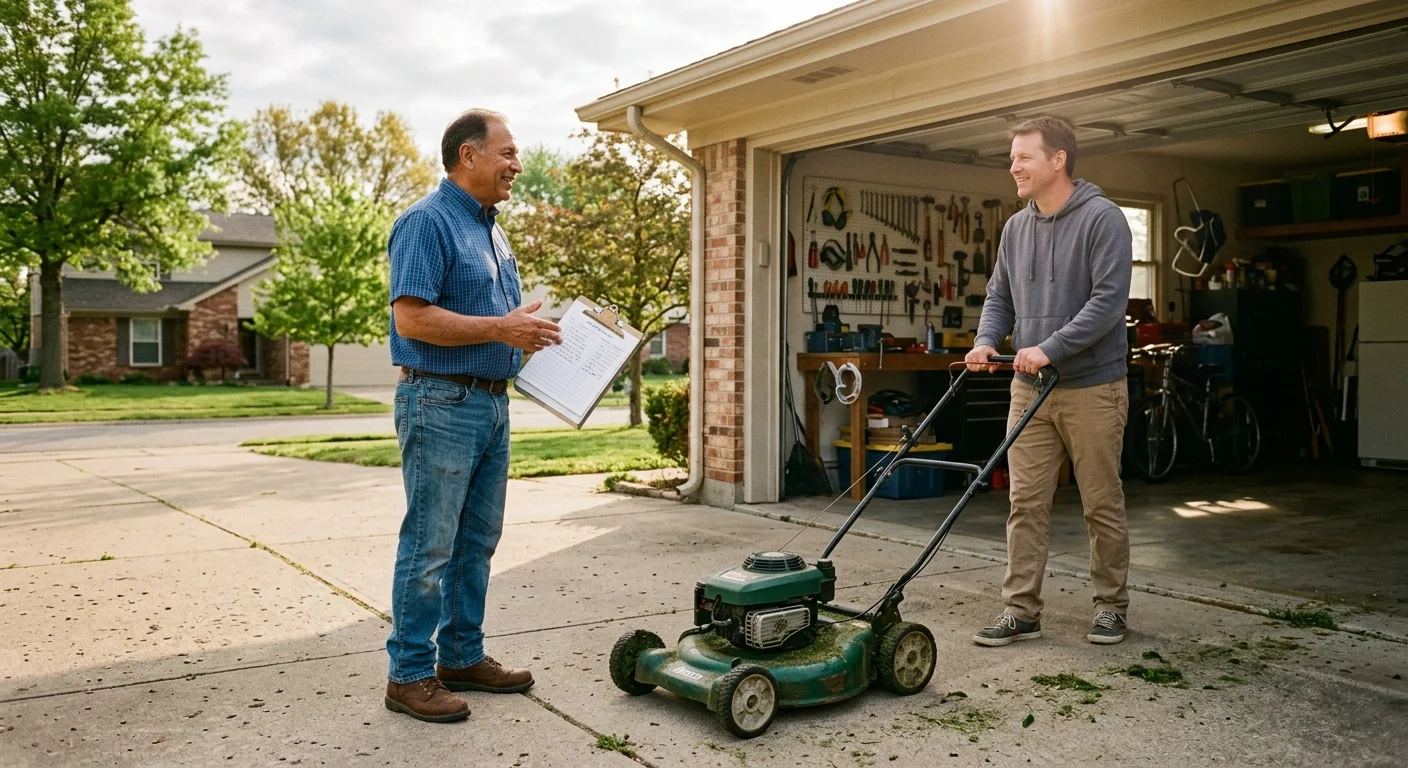
Establish strict business boundaries right from the start. Limit your intake volume to three or four machines per week to preserve your personal schedule and prevent garage congestion.
Draft a simple two-part paper intake ticket for every arriving mower. Record the serial number, cosmetic scratches, customer complaints, and signed authorization of the non-refundable bench fee.
Designate distinct operational zones inside your garage workspace:
- Zone A (Fluid Draining): A rubberized floor containment mat dedicated to oil drainage and fuel tank siphoning.
- Zone B (Teardown Bench): A heavy wooden workbench reserved strictly for mechanical disassembly and structural repairs.
- Zone C (Ultrasonic Station): A clean, elevated shelf dedicated to chemical cleaning and dry carburetor reassembly.
- Zone D (Outbound Staging): A safe storage perimeter holding finished machines awaiting customer collection.
Maintain consistent communication by texting customers diagnostic video clips showing damaged components. Homeowners appreciate complete transparency, which builds long-term neighborhood word-of-mouth trust.
Frequently Asked Questions
Do I need a commercial business license to repair mowers in my garage?
Most municipalities allow minor home-based hobby services provided you do not store excessive outdoor inventory or generate customer traffic nuisances. Check your local zoning ordinances regarding residential occupation permits and register a basic LLC structure for personal liability protection.
How much gasoline can I store in an attached residential garage?
Residential fire codes enforcing NFPA 30 or IFC Section 5704 typically limit fuel storage in attached garages to 5 to 10 gallons in approved metal cans. Detached storage sheds allow up to 25 gallons when kept 18 inches above the floor.
What happens if a customer refuses to pay or abandons their lawnmower?
Your signed drop-off agreement must explicitly state that equipment left unclaimed after 30 days becomes shop property to offset storage and diagnostic fees. Retaining the non-refundable bench fee guarantees you receive baseline compensation even if a customer abandons broken machinery.
Why should I charge a flat-rate bench fee instead of billing by the hour?
Diagnostic bench fees ensure you earn money for your expertise and testing time even when an engine proves mechanically unfeasible to repair. Flat rates also give customers upfront price transparency, eliminating billing disputes when picking up equipment.
Disclaimer: This article is for informational and inspirational purposes. Life decisions are deeply personal, and we encourage readers to pursue their dreams while considering their unique circumstances, health, and financial situation.





2 Comments