
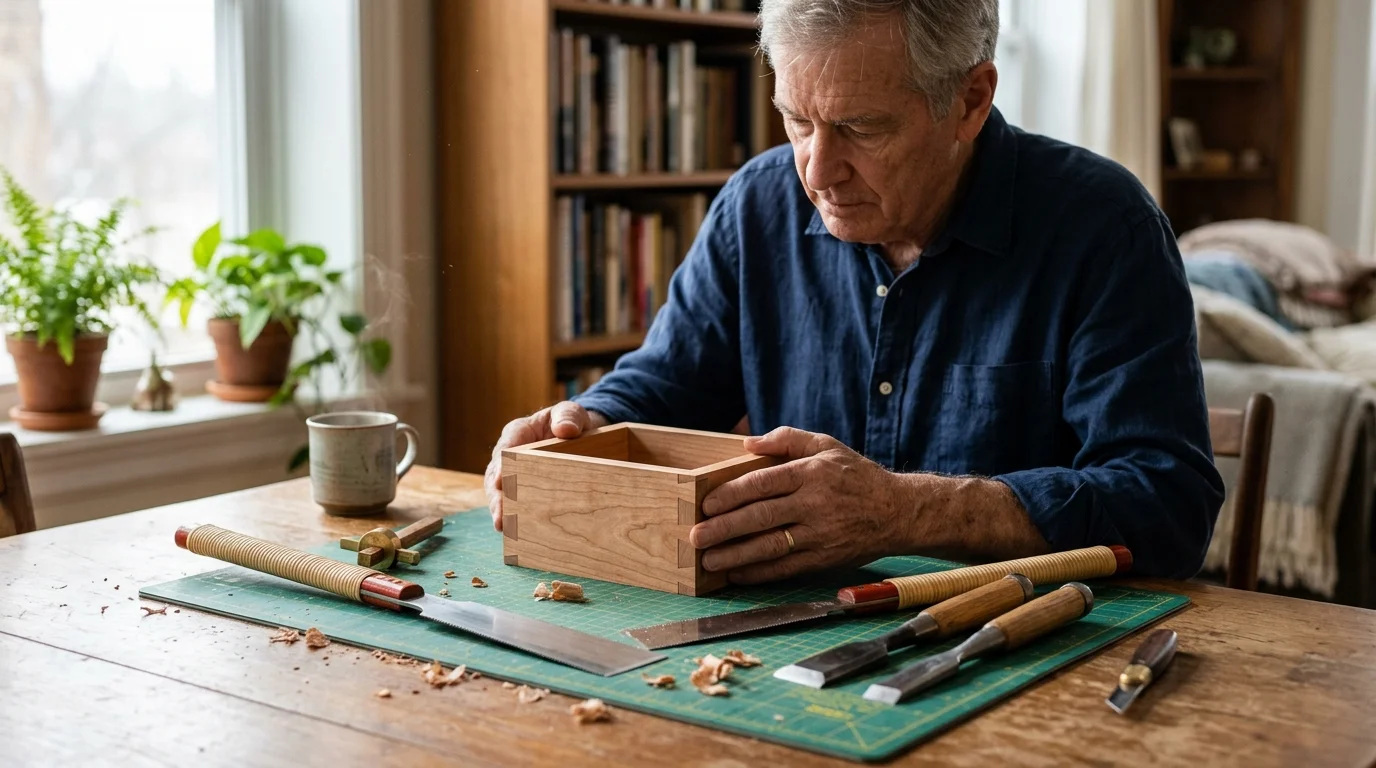
You can craft heirloom keepsake boxes from your apartment dining room table without a single power tool or dedicated workshop. Japanese hand joinery relies on pulling motions rather than brute downward force, generating razor-sharp precision with zero ambient motor noise.
Tabletop woodworking joins other gentle, space-conscious crafts like ergonomic tabletop weaving that bring artisanal fulfillment right into modern apartments.
While conventional wisdom claims fine woodworking requires an expensive garage shop, a 2×4-foot tabletop, a Japanese pull saw, and three chisels deliver heirloom joints without airborne dust.
This guide details the complete apartment setup, proving you can master quiet joinery projects senior makers love while your next-door neighbors enjoy complete, undisturbed silence.
The Physics of Pull-Saw Joinery: Why Small Spaces Favor Japanese Tools
Traditional Western handsaws cut on the push stroke. Pushing against dense hardwood requires a thick, rigid steel saw plate to prevent the blade from buckling under compressive strain.
Much like cultivating balcony bonsai in small apartments, this focused Japanese craft emphasizes patience and compact precision over sprawling square footage.
Thick saw plates remove a broad swath of wood called a kerf. This wide kerf demands significant muscle force, creates clouds of airborne debris, and forces you to anchor a workbench to the wall.
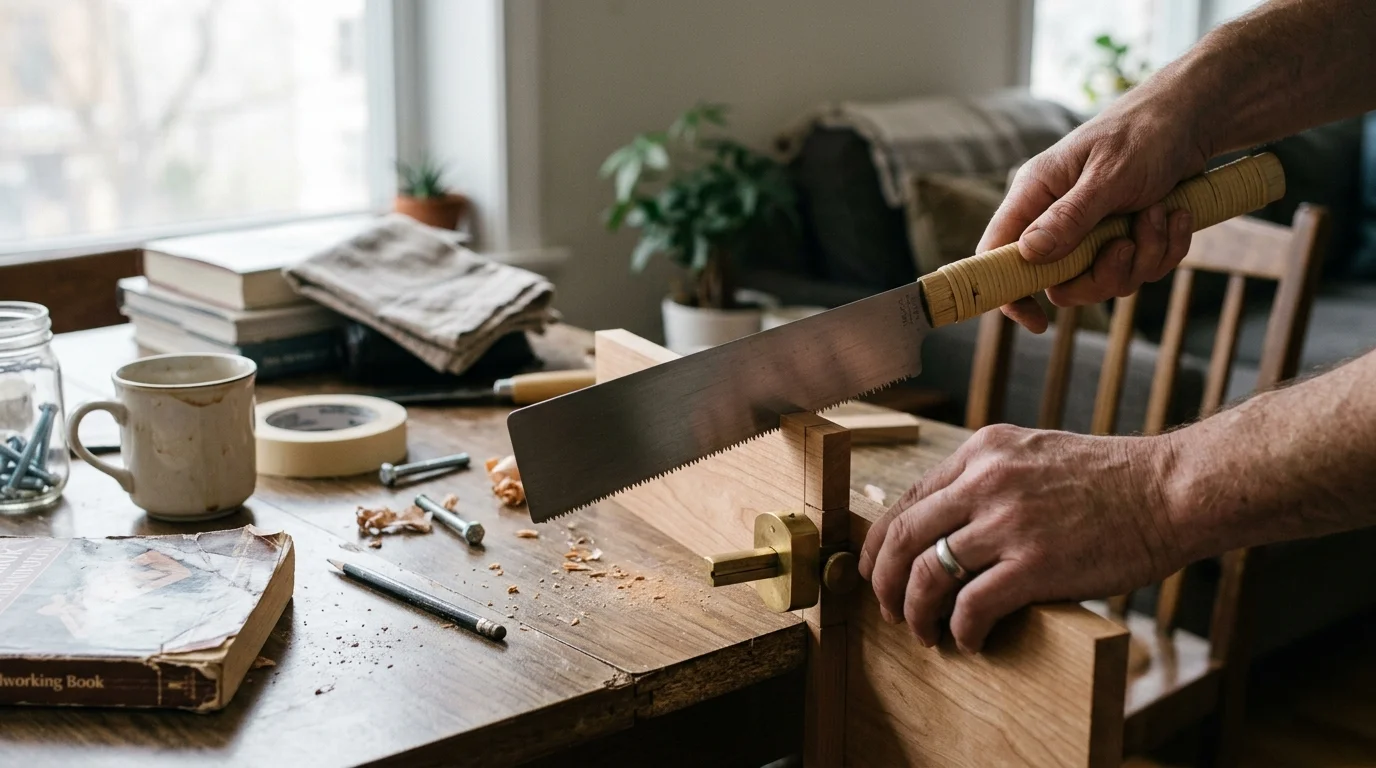
Japanese saws, known collectively as nokogiri, operate on the exact opposite mechanical principle. They cut entirely on the pull stroke.
Pulling puts the steel blade under constant mechanical tension. Because steel naturally straightens under tension, Japanese toolmakers can forge blades as thin as 0.012 inches.
A blade this razor-thin removes less than half the wood fiber of a Western saw. As a result, each stroke requires minimal physical exertion and creates zero table vibration.
The cutting stroke directs kinetic energy toward your center of gravity. Your dining table stays rock-solid because you never shove heavy mass away from your body.
Acoustic tests demonstrate that Japanese hand saws generate roughly 48 to 54 decibels during a cut. This volume falls well below normal conversational speech, making it ideal for multi-family apartment buildings.
Embracing apartment woodworking hand tools allows you to work early in the morning or late at night without disturbing your household.
The 2×4 Foot Dining Table Setup: Protecting Surfaces and Containing Sawdust
Your finished dining room table represents a significant domestic investment. You must protect its lacquered finish from scratches, chemical spills, and clamp indentations before making a single cut.
Setting up protective mats on a dining surface mirrors the safe containment strategies used for kitchen table printmaking, ensuring domestic furniture remains spotless.
Much like establishing a compact linocut studio for small apartments, tabletop joinery proves you do not need dedicated workshop square footage to produce high-end craft work.
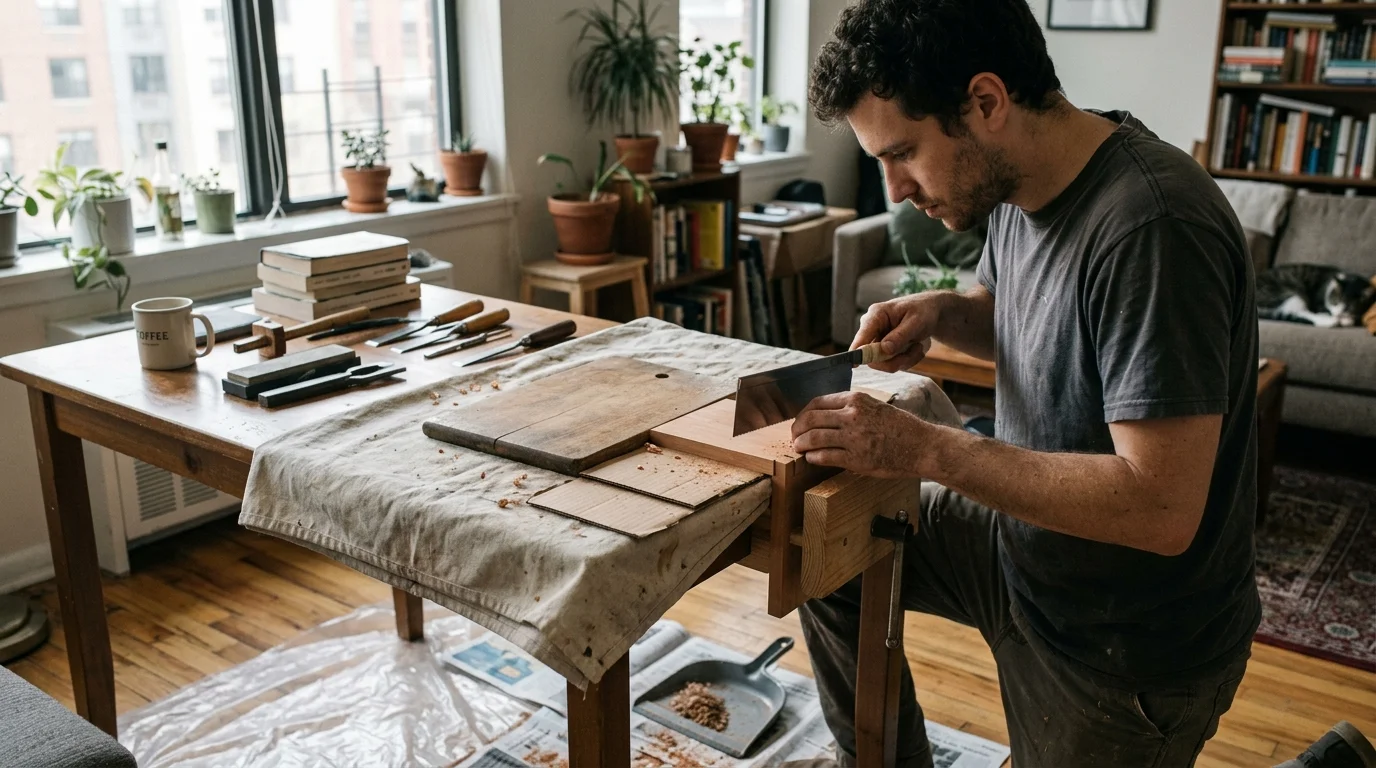
Transforming your dining surface into a temporary luthier-grade workstation requires three distinct, easily removable protective layers.
- Base Layer: A 24×36-inch food-grade silicone craft mat (0.08 inches thick) grips the polished table surface without leaving chemical residue.
- Impact Layer: A self-healing cutting mat (18×24 inches) placed on top of the silicone distributes downward cutting pressure and stops accidental blade slips.
- Acoustic Cushion: A 1/4-inch piece of dense industrial wool felt placed directly beneath your bench hook deadens tool strikes.
This layered sandwich isolates mechanical vibrations from the tabletop. Tapping a mortise with a wooden mallet produces a muffled thud rather than a resonant drum beat.
Dust management with Japanese hand tools requires no loud vacuum machinery or expensive air scrubbing systems. Pull saws produce heavy, granular sawdust shavings rather than fine microscopic dust.
Gravity pulls these dense shavings straight down onto your self-healing mat. They never circulate through your apartment heating ducts or settle across your living room furniture.
Keep a horsehair drafting bench brush and a shallow metal dustpan right beside your cutting station. Sweeping the silicone surface takes thirty seconds at the end of each session.
You can store your entire protective setup, cutting mats, and brush roll flat under a living room couch or inside a closet.
Essential Starter Kit: Comparing Japanese Pull Saws and Hand Chisels
Massive tool collections overwhelm small apartments and drain retirement hobby budgets. You only need two specialized pull saws, three bench chisels, and a sharpening stone to construct museum-quality boxes.
Carefully maintaining edge tools with waterstones requires the same gentle bench discipline seen in antique book restoration at home.
Makers who appreciate this degree of manual precision often find equal satisfaction in scale wooden model building for another gentle, detail-oriented tabletop discipline.
The table below provides exact specifications, recommended applications, and price points for selecting Japanese pull saw beginner projects gear.
| Tool Model | Blade Spec & Thickness | Tooth Pitch (TPI) | Primary Box Joinery Function | Average Cost (USD) |
|---|---|---|---|---|
| Gyokucho Razorsaw Dozuki No. 311 | 240mm length / 0.30mm plate | 32 TPI (Crosscut) | Ultra-fine miter cuts, tenon shoulders, spline slots | $38.00 |
| Suizan Ryoba Double Edge Saw | 240mm length / 0.50mm plate | 9.5 TPI Rip / 15 TPI Crosscut | Dimensioning long boards, deep ripping, box wall sizing | $34.00 |
| Kakuri Oire Nomi 3-Piece Set | 6mm, 12mm, 18mm laminated steel | Beveled edge bench chisel | Squaring box corners, bottom rebates, hinge mortises | $62.00 |
| Naniwa Combination Waterstone | 210x70x20mm / 1000 & 3000 Grit | Aluminum oxide abrasive | Edge maintenance and razor honing of chisel bevels | $35.00 |
| Kugihiki Flush Cut Saw | 120mm length / 0.15mm plate | 25 TPI (No tooth set) | Trimming joint splines flush to box walls without scratches | $22.00 |
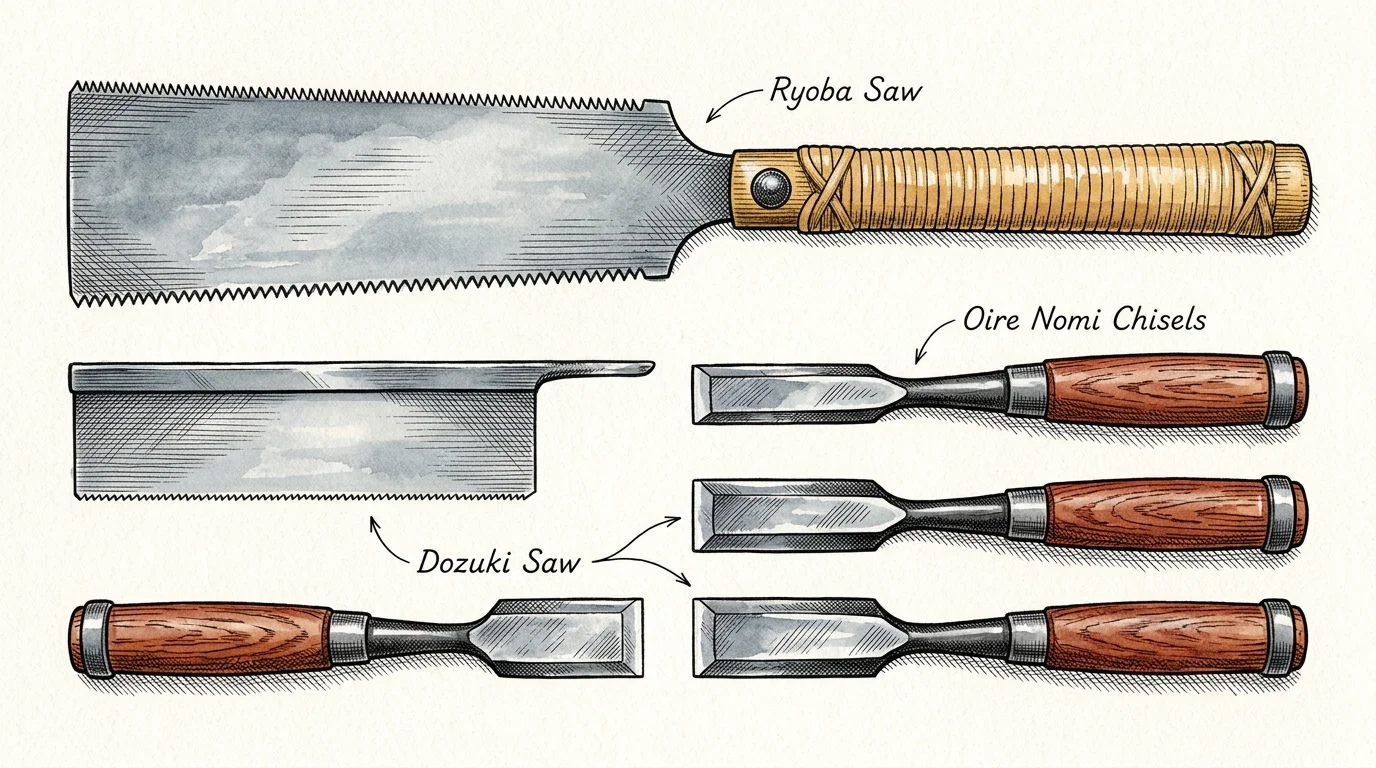
The Dozuki saw features a rigid steel spline along the blade back. This rigid spine stiffens the 0.3mm plate, guaranteeing dead-flat, glass-smooth joint faces.
The Ryoba saw features cutting teeth on both sides of the blade. One edge cuts across the wood grain, while the opposing edge cuts efficiently along the grain length.
Japanese chisels, called oire nomi, feature a slight hollow on their back face. This hollow, known as the ura, dramatically reduces the surface area you must polish when sharpening.
You can sharpen these laminated high-carbon steel chisels at your kitchen sink using water rather than messy, petroleum-based honing oils.
Wrap your cutting tools in a waxed canvas tool roll after use. The rolled bundle measures less than five inches in diameter and stores neatly in a standard dresser drawer.
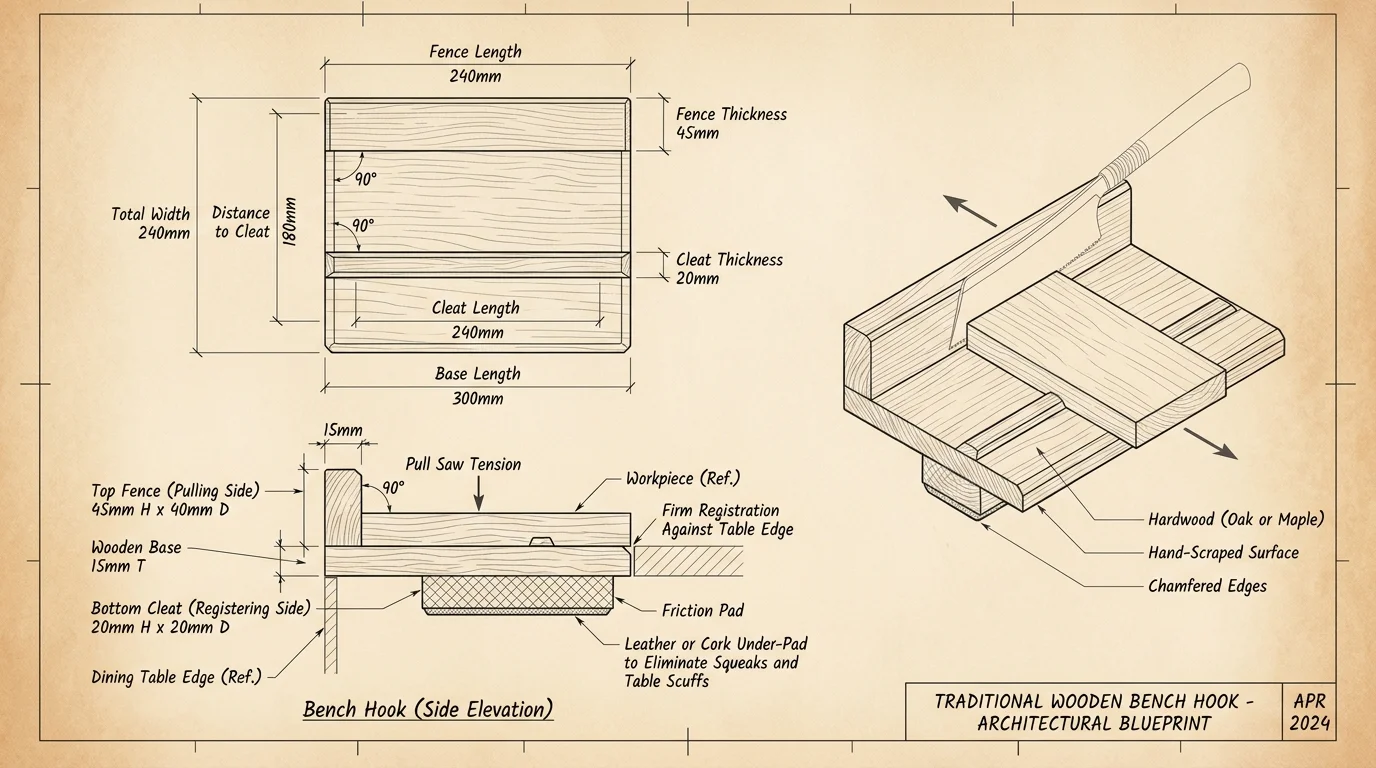
Building Your Bench Hook: The Soundless Work-Holding Solution
Traditional woodshops rely on cast-iron vises weighing over thirty pounds to hold lumber securely. In an apartment, clamping a heavy vise to your dining table can crush delicate decorative edges.
Developing these simple custom fixtures also provides practical know-how you can share with neighbors at a community repair café.
Fabricating your own custom shop fixtures also reinforces practical fundamentals useful for everyday DIY home repair skills.
A bench hook solves this problem entirely through mechanical geometry and body weight. It requires zero permanent fasteners and rests freely upon your protective tabletop mat.
A bench hook consists of a flat hardwood base plate bounded by two opposing hardwood cleats. The lower cleat hooks over the table edge, while the upper cleat supports your workpiece.
Follow these construction steps to build your custom apartment bench hook from pre-cut hardwood offcuts.
- Cut a baseboard of 3/4-inch Baltic birch plywood to precisely 10 inches wide by 14 inches long using your Ryoba crosscut saw.
- Cut two matching hardwood cleats from kiln-dried maple measuring 1 inch thick, 1.5 inches wide, and 10 inches long.
- Drill three countersunk pilot holes through each cleat to prevent the maple from splitting when screwed.
- Spread non-toxic PVA wood glue across one face of the first cleat, aligning it flush with the underside front edge of the baseboard.
- Drive three 1-1/4-inch brass wood screws into the lower cleat, ensuring the screw heads sit completely below the wood surface.
- Glue and screw the upper cleat to the top rear edge of the baseboard, positioning it parallel to the lower front cleat.
- Adhere a strip of self-adhesive 1/16-inch thick cork gasket tape across the inner face of the lower cleat to shield the dining table edge.
When you pull your Japanese saw toward your body, the lower cleat locks firmly against the table edge. The harder you pull the saw, the tighter the bench hook wedges into place.
Your downward hand pressure keeps the wood locked against the upper stop. You gain solid work holding without putting compressive strain on your dining table leaves.
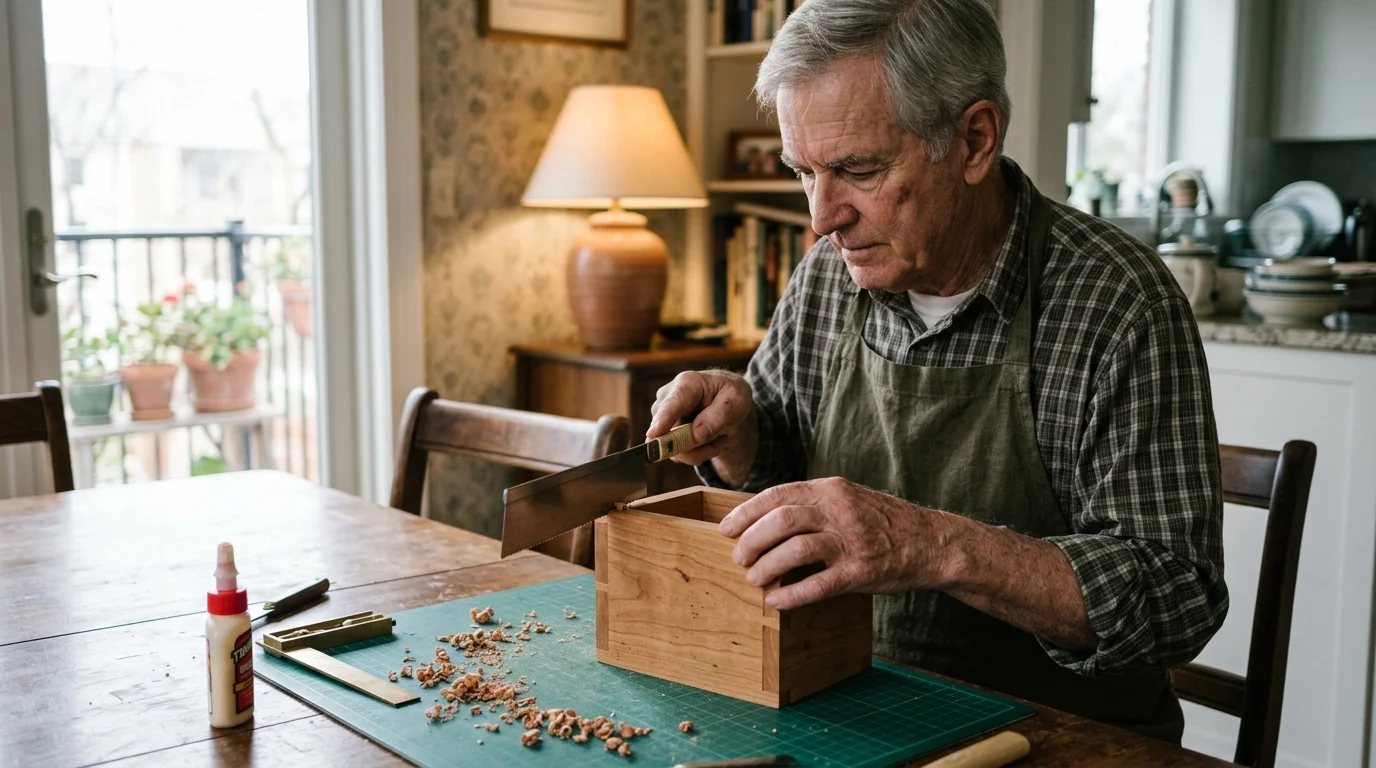
Worked Example: Crafting an Heirloom Cherry Keepsake Box Step-by-Step
To see how quiet joinery projects senior makers cherish come together, examine this fully dimensioned keepsake box project. This scenario details real measurements, material costs, and build durations.
For retirees seeking tactile, joint-friendly hobbies that avoid power equipment, ceramic hand-building techniques offer a similarly soothing alternative to mechanical workshop noise.
Completing a beautiful, functional wooden box showcases the rewards of crafting a fulfilling retirement through accessible creative projects.
Our project creates a finished 6x4x3-inch keepsake box using kiln-dried American Black Cherry with contrasting Hard Maple accents.
Acquiring materials from online specialty lumber retailers or neighborhood woodworking stores costs minimal money. You do not need to haul rough lumber from a commercial yard.
- 1 Board S4S American Black Cherry (1/2 in thick, 3.5 in wide, 36 in long): $16.50
- 1 Offcut strip Hard Maple for splines (1/8 in thick, 2 in wide, 12 in long): $3.00
- 1 Sheet aromatic cedar veneer plywood for bottom panel (1/8 in thick, 12×12 in): $6.00
- 1 Pair solid brass butt hinges (3/4 in wide by 1 in open): $8.50
- Total raw material investment: $34.00
Begin by cutting the cherry board into box sides using your bench hook and Dozuki saw. Cut two long walls at 6 inches and two short end walls at 4 inches.
Take 25 minutes to crosscut these four perimeter pieces with steady, light pulls. Let the weight of the saw do the cutting without pushing down on the teeth.
Next, use your 6mm Kakuri chisel to carve a clean 1/8-inch groove around the inside lower edge of all four boards. This groove sits 1/4 inch above the bottom edge to float your cedar base panel.
Carving this perimeter groove takes approximately 30 minutes of gentle chisel paring. The shavings curl up quietly like ribbon offcuts, producing zero dust.
Cut your aromatic cedar baseboard to 5-3/8 inches by 3-3/8 inches, allowing 1/16-inch clearance for natural seasonal wood movement. Slide the cedar bottom into the cherry side grooves.
Apply liquid hide glue to the miter joints. Liquid hide glue features an open working time of 20 minutes and cleans up with warm water, eliminating harmful fumes.
Wrap a ratcheting nylon band clamp around the four mitered corners. Set the assembled box aside on your table mat for two hours while the hide glue cures.
Once dry, your glue-up creates an airtight wooden box completely sealed on all six sides. You will separate the lid from the base in the following stage.
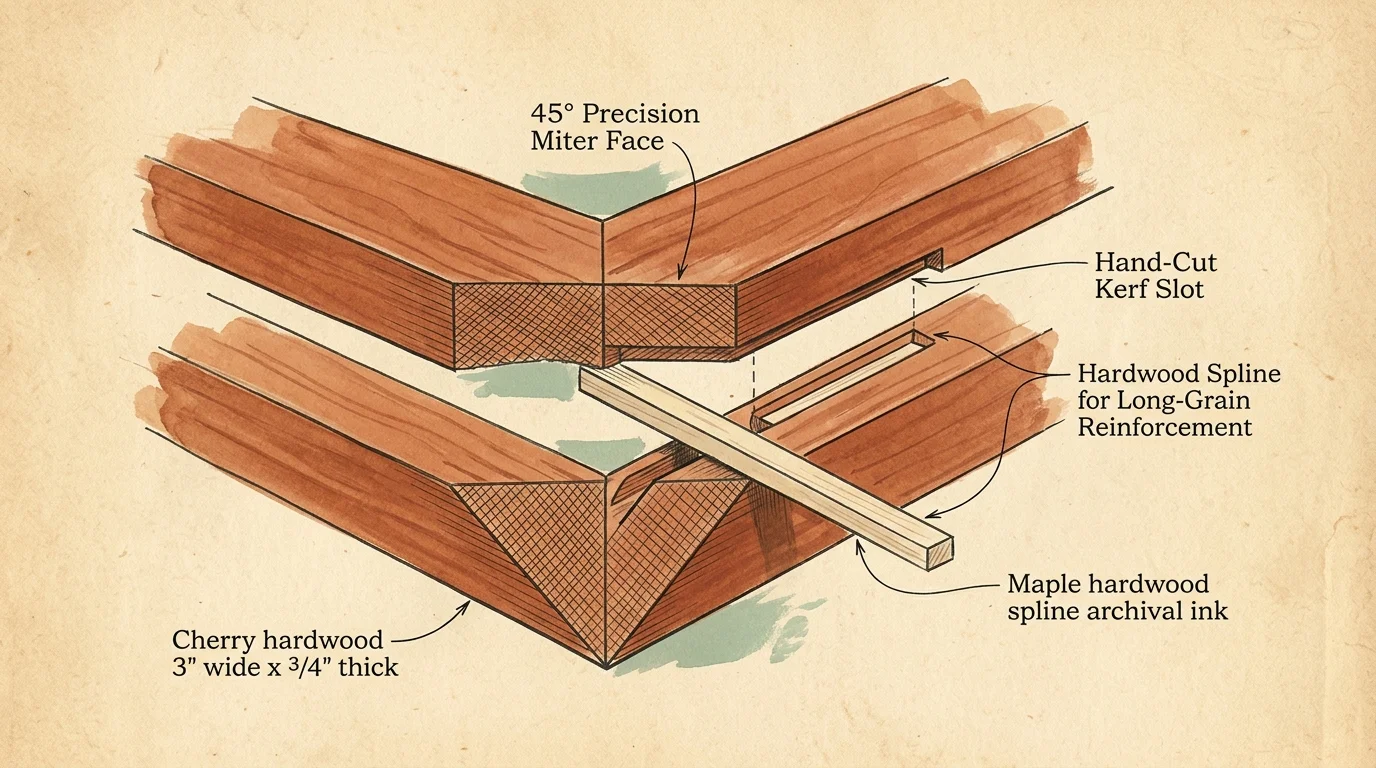
Mastering the Splined Miter Joint on an Apartment Table
A simple miter joint joins two boards cut at opposing 45-degree angles. While visually clean, a raw miter joint relies entirely on weak end-grain glue adhesion.
End grain absorbs adhesive like a sponge, leaving the joint starved of glue. Without reinforcement, a small keepsake box can crack open if dropped onto a rug.
Inserting hardwood splines across the mitered corners solves this engineering flaw. Splines introduce strong side-grain gluing area and lock the corner in place forever.
Cutting spline slots without a noisy table saw requires only your Dozuki saw and a simple 45-degree guide block clamped to your bench hook.
- Mark two slot positions across each corner edge: one 1/2 inch from the top and one 1/2 inch from the bottom.
- Rest the assembled box inside your bench hook at a 45-degree angle against a triangular scrap wood stop.
- Set the Dozuki saw teeth against your pencil mark and pull three gentle strokes to establish an accurate tracking groove.
- Saw down through the corner until the blade touches your layout depth line, approximately 3/8-inch deep into the wood.
- Repeat this cut for all four corners, creating eight uniform kerf slots around the box perimeter.
- Coat your 1/8-inch hard maple spline blanks with hide glue and slide them directly into each sawn slot.
- Let the glue cure for one hour until the maple keys fuse solidly with the cherry box walls.
After the glue cures, trim the protruding maple tabs flush using your Kugihiki saw. This saw has zero tooth set, meaning the steel teeth lie flat against the blade plate.
Rest the blade flat against the cherry box wall and draw it across the maple tab. It slices through the spline flush without leaving a single scratch on the adjacent wood.
Now, separate your box lid by scribing a line around the perimeter 3/4 inch below the top face. Saw around this perimeter line using the Dozuki to separate the lid cleanly.
Mortise two small brass hinges into the back edge using your 6mm chisel. Smooth the cherry walls using a small hand-held card scraper instead of noisy, dusty sandpaper.

Cognitive Health and the Gentle Discipline of Tabletop Craftsmanship
Apartment woodworking hand tools engage your hands and mind in ways modern digital screens cannot replicate. The precise physical coordination required to follow a pencil line cultivates deep focus.
Scientific research confirms that engaging in fine tactile hobbies preserves cognitive acuity as we age. The Stanford Center on Longevity highlights how purposeful, mentally stimulating complex tasks foster durable cognitive reserves in older adults.
Hand-tool woodworking demands spatial visualization, tactile feedback, and deliberate patience. You cannot rush a pull saw without wandering off your line.
Researchers at the National Institute on Aging consistently emphasize that learning new motor-cognitive skills stimulates neuroplasticity across our later chapters.
“It is never too late to be what you might have been.” — George Eliot
Discovering fine craftsmanship in retirement offers profound creative fulfillment. You do not need to define your retirement by passivity or quiet disengagement.
Transforming raw boards into heirloom boxes proves that creative mastery requires patience and curiosity rather than industrial machinery.
The gentle swish of a Japanese saw blade becomes a daily meditative ritual. You step away from your table with a finished physical treasure and an energized spirit.
Frequently Asked Questions
Do Japanese pull saws need sharpening after every project?
No. Most modern Japanese pull saws use impulse-hardened steel teeth that stay razor-sharp for several years of hobby box making. When the blade eventually dulls, you replace the inexpensive blade insert rather than manually filing the microscopic teeth.
Can I safely cut hardwood on a glass or veneer dining table?
Yes, provided you never place workpieces directly against the tabletop. A layered setup consisting of a 2mm silicone mat, a self-healing cutting pad, and a cork-lined bench hook completely isolates your table from mechanical pressure and sharp tools.
Which domestic woods are easiest to work with hand tools in an apartment?
American Black Cherry, Black Walnut, and Genuine Mahogany cut smoothly and produce crisp edges with minimal tearing. Avoid abrasive, highly splintery hardwoods like Red Oak or brittle softwoods like construction pine for miniature joinery boxes.
What is the safest, non-toxic wood finish for an apartment living space?
Food-grade walnut oil, pure beeswax polish, and plant-based hardwax oils offer exceptional protection with zero toxic fumes. You can buff these finishes onto your box right at the dining table without opening windows or wearing a respirator mask.
Disclaimer: This article is for informational and inspirational purposes. Life decisions are deeply personal, and we encourage readers to pursue their dreams while considering their unique circumstances, health, and financial situation.





1 Comment