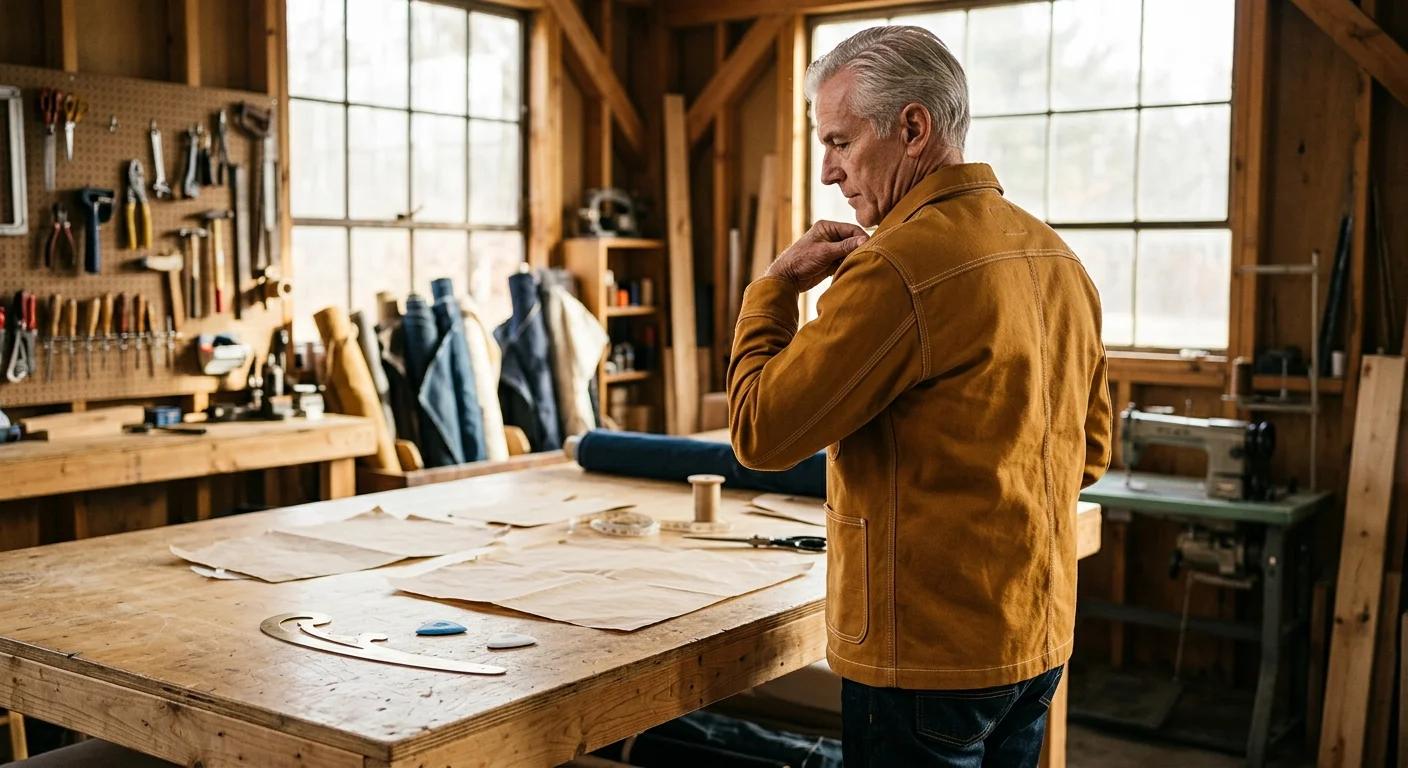
Drafting a bespoke chore coat pattern lets you transform rigid deadstock canvas into an heirloom garment engineered specifically for your body. You deserve durable workwear that moves freely across your back without lifting the hem or choking your throat.
Whether you are tending a garden or spending active shop hours engaged in retirement woodworking, tailored utility wear ensures your movements stay completely unrestricted.
Standard commercial jacket patterns assume an erect military posture that pulls backward on mature shoulders, causing tight necklines and diagonal draglines.
Modifying the yoke slope and armscye curve before cutting heavy canvas gives you clean lines, unmatched durability, and complete mobility across your upper back.
Anatomy of Fit: Why Standard Commercial Slopers Fail Mature Bodies
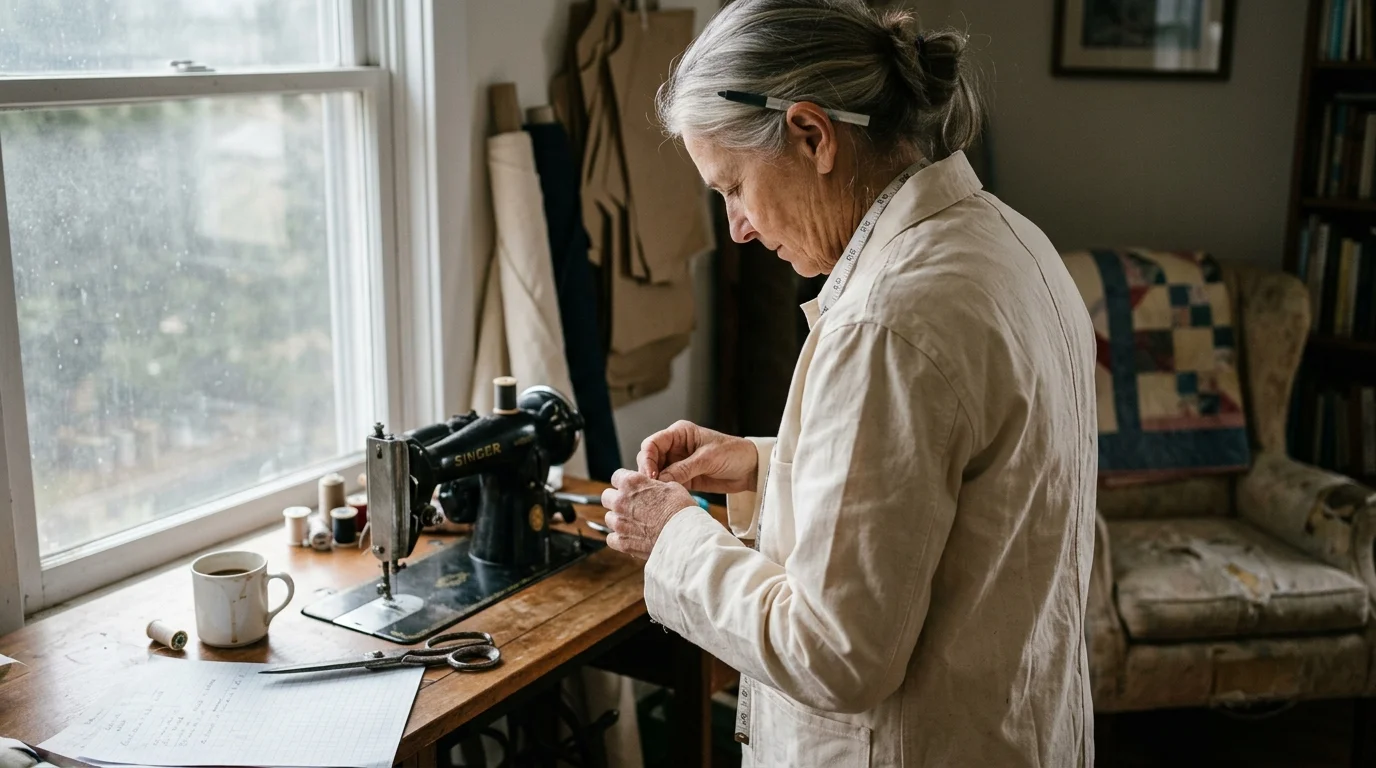
Commercial workwear patterns base their drafting blocks on idealized, young drafting forms with perfectly vertical spines and squared shoulders. When you master sewing chore jacket mature body fitting adjustments, you reclaim pattern autonomy and craft garments that honor your physical frame.
Adapting your studio setup for physical longevity mirrors practices like ergonomic tabletop weaving for crafters with shoulder limitations, where intentional mechanical alignment prevents joint strain.
As you age, natural changes in your thoracic spine create a slight dorsal curvature, shifting the base of your neck forward. At the same time, shoulder joints rotate forward from decades of focused work, creative projects, and active living.
Rigid fabrics like duck canvas, denim, and heavy twill do not forgive posture misalignments. Unlike modern stretch synthetics, natural cotton canvas has zero mechanical give along the straight grainline.
When you wear a standard commercial jacket over rounded shoulders, the back fabric pulls taut against your shoulder blades. This physical tension levers the entire jacket backward, dragging the front collar against your throat.
The hemline reveals this imbalance instantly. The back hem rides up toward your lower back, while the front hem dips awkwardly toward your knees.
“Have nothing in your houses that you do not know to be useful or believe to be beautiful.” — William Morris
Drafting your own sloper solves these balance distortions at the root. You create room where your body requires space, while maintaining a tailored silhouette across your chest and torso.
Designing purposeful projects keeps your mind engaged in complex spatial problem-solving. Research from the Stanford Center on Longevity demonstrates that pursuing intricate, goal-directed craft skills supports cognitive vitality throughout your retirement years.
Essential Patternmaking Tools and Canvas Selection
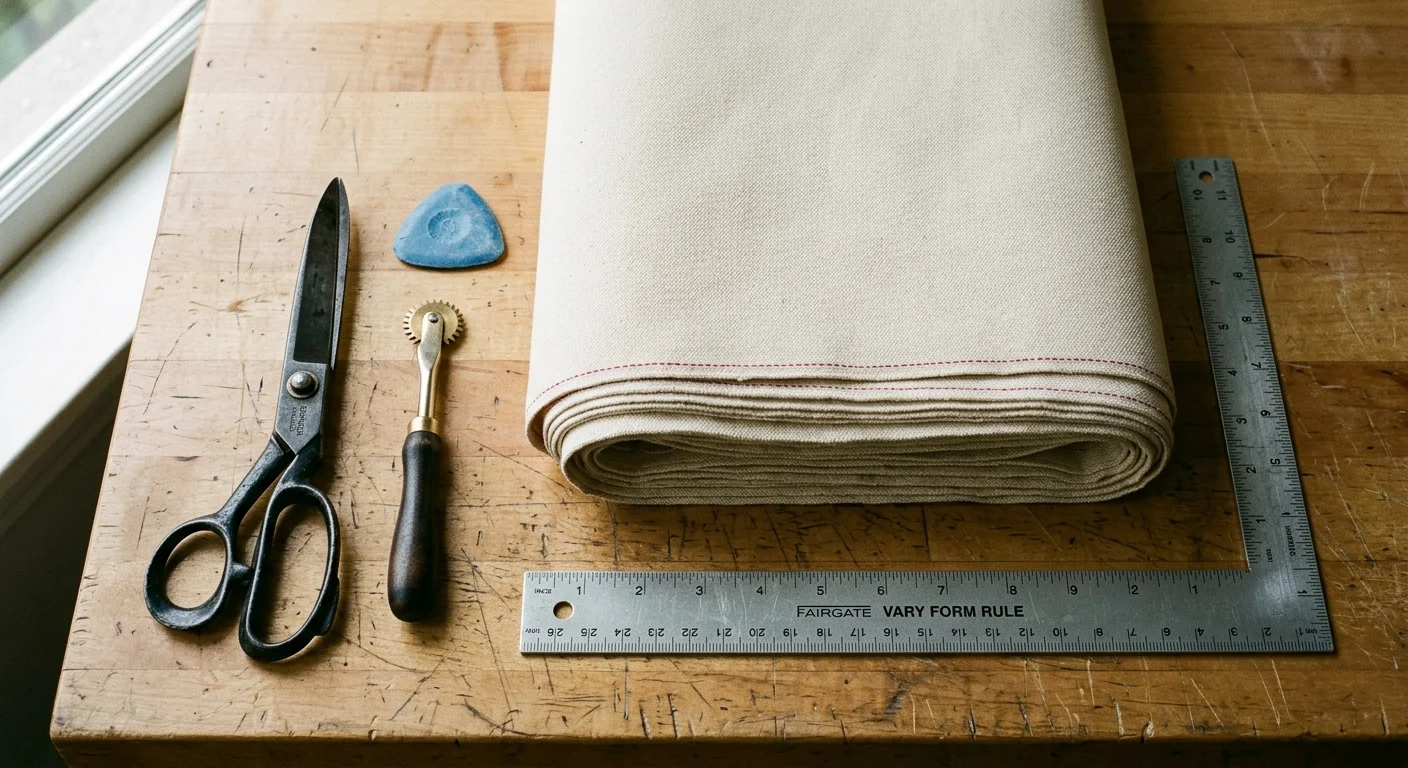
Precision pattern drafting requires dedicated drafting tools that guarantee clean, repeatable geometry. Heavy paper and accurate rulers prevent small tracing errors from compounding across your pattern pieces.
Selecting lightweight rulers and padded shears follows the same ergonomic principles used in ceramic hand-building with carpal tunnel, where specialized hand tools reduce repetitive strain.
Much like turning remnant fabrics into artistic heirlooms through retirement quilting, sourcing salvage duck canvas gives historic textiles a durable second life.
- Fairgate Vary Form Curve ruler (18-inch) for armscye and neckline contouring
- Aluminum L-square ruler (24-inch by 14-inch) for establishing perpendicular grainlines
- Pattern notchers cutting a crisp 1/16-inch by 1/4-inch bite
- Swedish tracing paper or 50-pound translucent drafting vellum
- Fine-point mechanical pencil (0.5 mm HB lead) for surgical line weight
- Scotch 811 removable magic tape for repositioning pattern slices
- Tailor’s measuring tape with fiberglass reinforcement to avoid stretching
Deadstock canvas provides exceptional character and durability for your chore coat project. Look for untreated 10-ounce to 12-ounce cotton duck canvas or salvage military tent twill.
Deadstock fabrics prevent textile waste by keeping premium surplus yardage out of regional landfills. These vintage fabrics often feature dense, tight yarn counts rarely found in modern retail stores.
Always pre-wash your canvas yardage twice in hot water before taking cutting shears to the cloth. Heavy cotton duck shrinks up to 8% in length and 3% across the width during initial laundering.
Taking Precise Upper-Torso Posture Measurements
Drafting adjustments succeed only when built upon uncompromised body data. Stand naturally in your everyday posture while a partner records your torso measurements over a light base layer.
While tailoring garments compensates for postural shifts, many makers also explore barbell strength training for bone density and posture to help reinforce upper back strength.
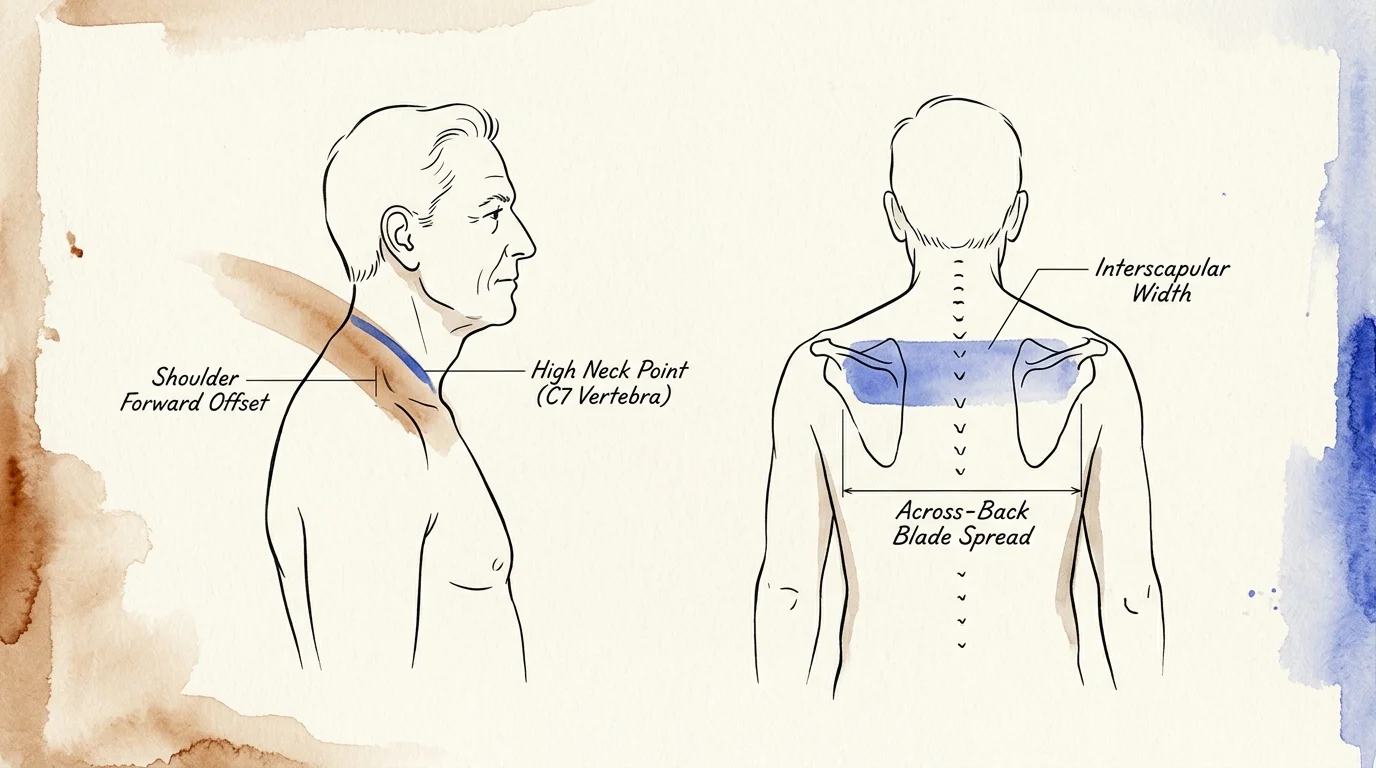
- Locate your prominent seventh cervical vertebra (C7) at the base of your neck and mark it with skin-safe tape.
- Measure down your curved spine from the C7 marker to your natural waistline to establish your actual back length.
- Measure your front balance length from the lateral neck base down over your chest apex to your natural waistline.
- Measure your across-back width horizontally between your posterior armfold creases across your shoulder blades.
- Measure your shoulder slope angle using an angle finder placed along your shoulder seamline from neck to acromion point.
- Measure your forward shoulder offset by holding a vertical ruler against your chest and measuring the horizontal distance to your shoulder apex.
Compare your recorded back length to the pattern’s stock back measurement. A rounded back posture typically creates a discrepancy between 1.5 cm and 3.5 cm longer than standard commercial blocks.
Notice also whether your shoulder point rests forward of your lateral balance plane. That measurement determines the exact forward offset you will transfer onto your chore coat shoulder seam.
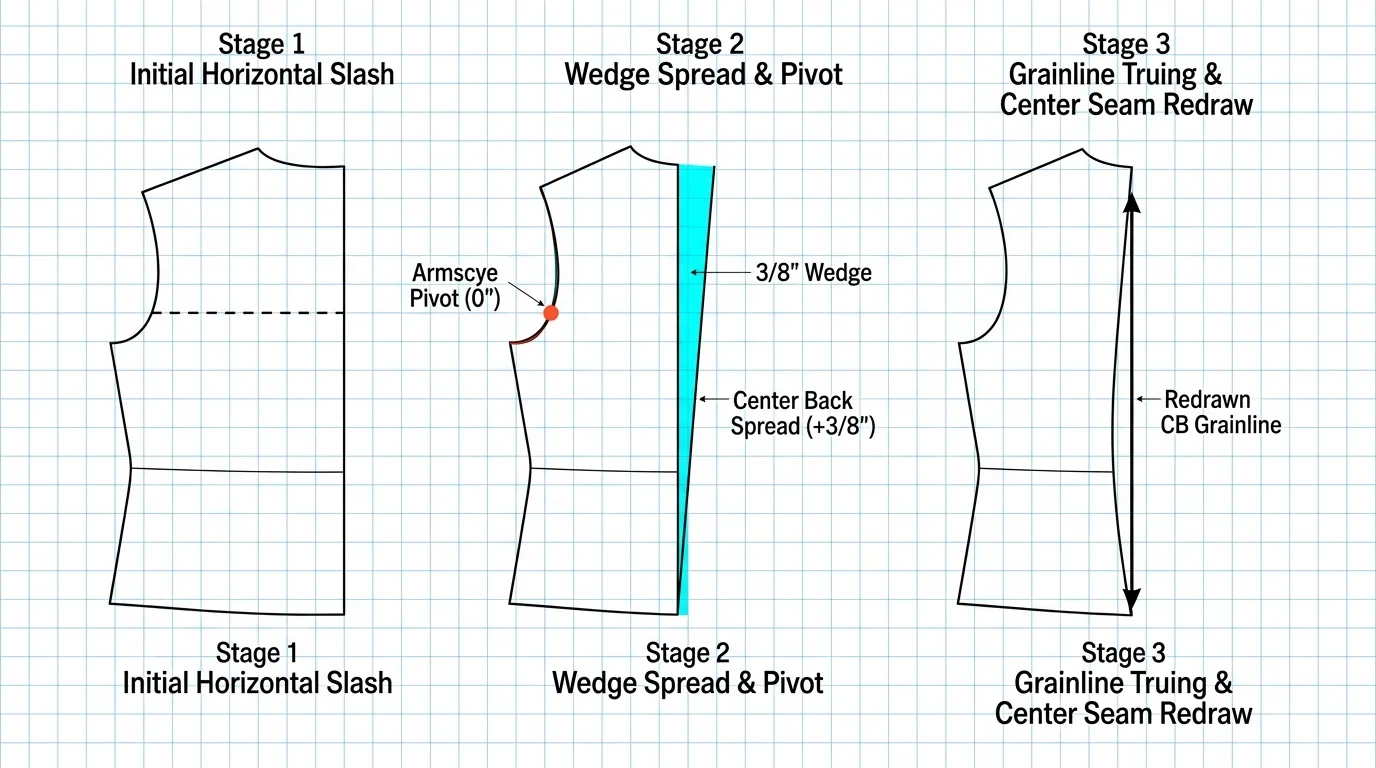
The Rounded Back Slash-and-Spread Drafting Method
The slash-and-spread method introduces extra length and localized width across the shoulder blades without ballooning the lower jacket. Mastering sewing pattern adjustments round shoulders ensures your workwear stays anchored when you reach forward.
This freedom of movement is equally essential if you spend time in the workshop downsizing to Japanese hand woodworking, where ergonomic pull cuts demand full upper-body mobility.
A dependable, custom-fitted chore coat is an ideal companion for volunteering at a local community repair café where reaching and lifting tools are part of the daily craft.
- Trace the back pattern piece of your chore jacket onto drafting paper, including grainlines and notch points.
- Draw a horizontal line across the shoulder blade region, positioned roughly 12 cm to 14 cm down from the back neck point.
- Draw a vertical reference line perpendicular to your horizontal slash line, roughly 8 cm inward from the armscye seam.
- Slash across the horizontal line starting from the center back edge toward the armscye, stopping 2 mm before the seamline to leave a hinge.
- Spread the cut edges at the center back by your measured curvature discrepancy, usually between 1.5 cm and 2.5 cm.
- Notice that spreading this cut line opens up length over your shoulder blade while leaving the side seam unaltered.
- Slide a scrap piece of drafting paper under the opened wedge and secure the spread with removable drafting tape.
- True the center back seamline with your curved ruler, blending the upper and lower segments smoothly.
Spreading the center back creates excess length along the center seam line. You can eliminate this fullness by introducing a small neck dart or by rotating the fullness into a traditional workwear back yoke.
A horizontal back yoke seam provides the ideal design feature for concealing this structural shaping. The horizontal seam absorbs the dart intake completely, preserving authentic utilitarian styling.
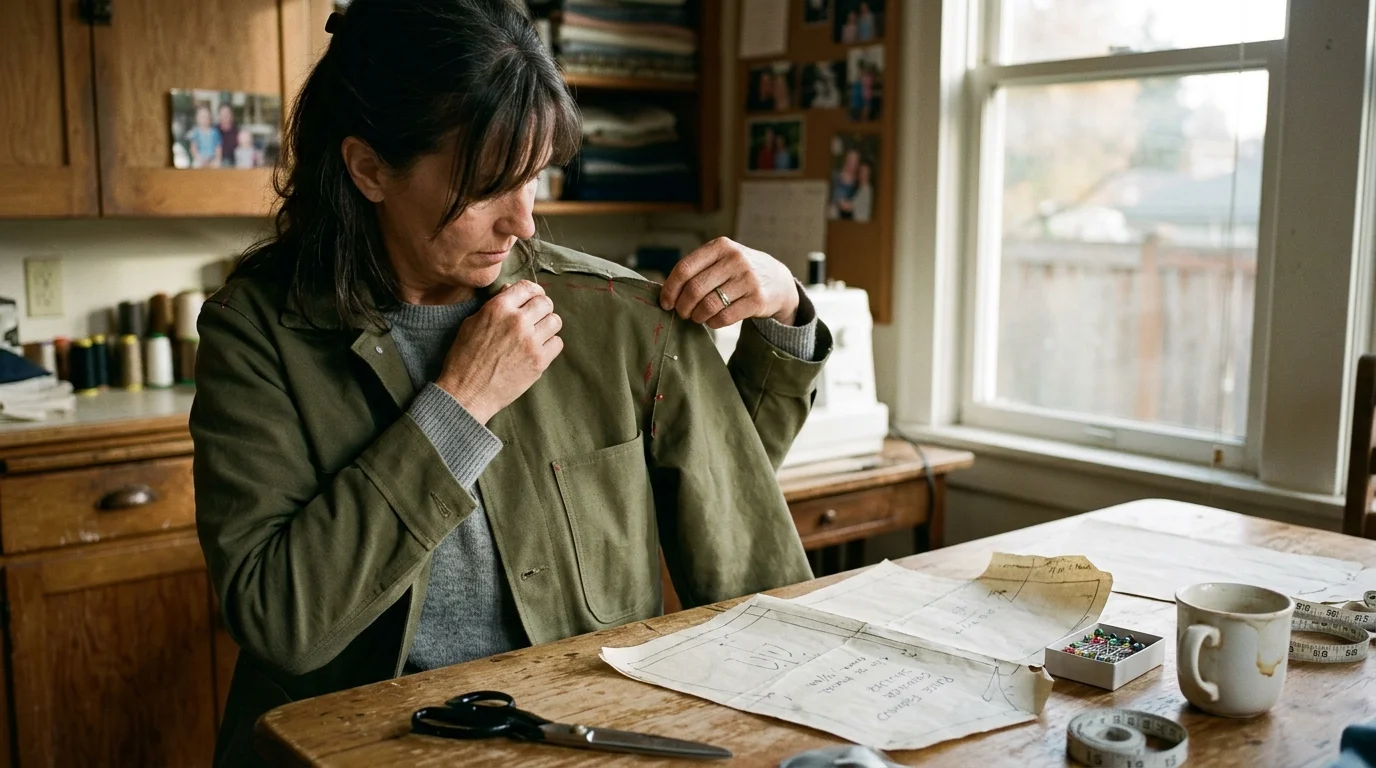
Realigning the Shoulder Seam for Forward Shoulders
When shoulders rotate forward, a standard shoulder seam migrates backward toward your shoulder blade during active wear. Realigning the seam forward keeps your chore jacket centered comfortably over your collarbones.
Working with heavy linen threads and bone folders during antique book restoration at home requires the exact same patience and structural care as precision garment balance.
- Measure your forward shoulder displacement, which typically ranges from 1.0 cm to 2.0 cm on mature figures.
- Trace the front and back shoulder sections of your chore coat sloper onto fresh paper.
- On the front jacket pattern, mark parallel lines 1.5 cm down from the original shoulder cutting line across the entire seam.
- Slice off this 1.5 cm strip from the front shoulder edge to remove excess fabric from your forward-rotated clavicle.
- Take this exact 1.5 cm strip, flip it vertically, and tape it along the back pattern’s shoulder seamline.
- Smooth and redraw the back shoulder line using your straight edge ruler, adjusting for the back neck curve.
- Verify that the front and back shoulder seam lengths match perfectly by walking the two pattern edges together.
This alteration does not change the total circumference of your armscye. Instead, it rotates the upper balance of your chore jacket forward, eliminating neckline choking.
You can discover advanced tailoring concepts and mechanical pattern manipulation through community workshops at the Osher Lifelong Learning Institute network nationwide. Exploring technical crafts builds practical mastery while connecting you with fellow passionate creators.
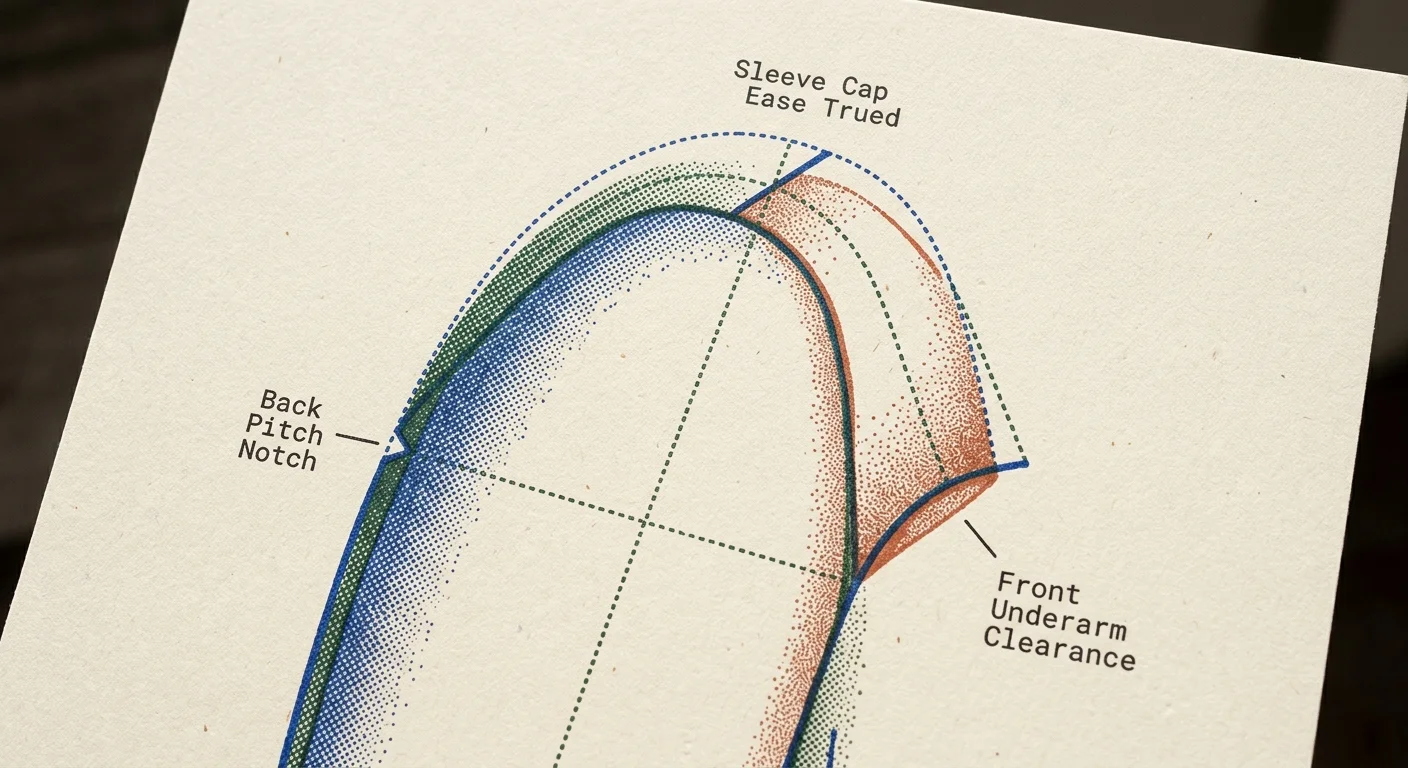
Truing the Armscye and Adjusting the Two-Piece Sleeve Cap
Altering the shoulder seam and back length alters the curvature and balance points of your armscye. You must re-true the armhole and adjust the sleeve cap so your jacket moves cleanly without binding your bicep.
Much like crafting tight mortise-and-tenon joints in apartment Japanese hand-tool joinery, true pattern harmony relies on millimeters of precision rather than forceful adjustments.
Unlike the natural mechanical stretch experienced in knitting and crochet, rigid workwear canvas demands exact armhole geometry to prevent uncomfortable binding.
Measure the entire front armscye seamline using your tape measure stood upright on its edge. Record this number down to the nearest millimeter.
Next, measure the lengthened back armscye seamline along its newly carved contour. Your back armscye will now measure approximately 1.0 cm to 1.8 cm longer than standard drafting blocks.
- Lower the base of the back armscye by 0.75 cm to provide working ease across your posterior shoulder tendon.
- Blend the lowered underarm point back into the side seam using your Fairgate curve ruler.
- Locate the top sleeve head notch on your two-piece chore coat upper sleeve pattern.
- Shift this sleeve cap notch forward by 1.2 cm to align with your newly shifted shoulder seamline.
- Add 0.8 cm of width to the back sleeve cap curve to mirror the extra ease introduced into your jacket back.
- Check that sleeve cap ease measures between 2.0 cm and 3.0 cm across the total armscye perimeter for heavy canvas.
Rigid workwear canvas cannot absorb large amounts of sleeve cap ease like spongy wool tweed does. Keep your sleeve ease compact so the fabric presses smooth without unsightly puckering along the seamline.
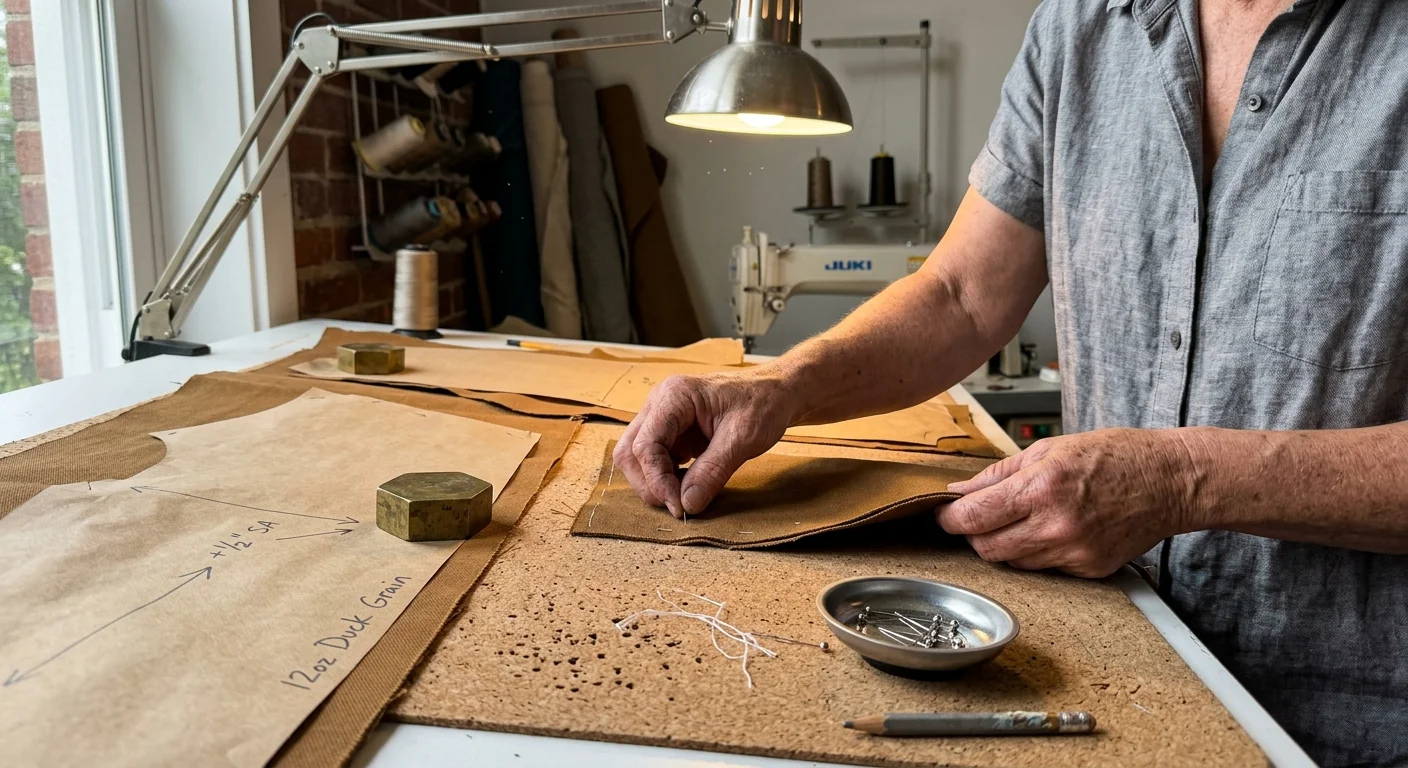
Worked Drafting Example: 12-Ounce Duck Canvas Chore Coat
Consider this step-by-step worked example drafting a bespoke chore coat pattern for a 62-year-old maker. The subject measures a 104 cm full chest, a 43.5 cm back waist length, and exhibits a 1.8 cm forward shoulder rotation.
The standard size 42 commercial sloper provides a 41.0 cm back waist length and a centered 13.5 cm shoulder seam. This commercial draft creates an immediate 2.5 cm back length deficit and causes severe collar back-drag.
We source 2.75 yards of 12-ounce Cone Mills deadstock cotton duck canvas costing $22.00 per yard, totaling $60.50 in fabric materials. The drafting and construction follow these precise parameters:
- Horizontal back slice placed 13 cm below the back neck point across the interscapular line
- Back spread opening expanded to exactly 2.0 cm at the center back, tapering to 0 cm at the armscye seam
- Back neck dart intake calculated at 0.8 cm, incorporated cleanly into a 9 cm deep back shoulder yoke
- Front shoulder seam reduced by 1.8 cm across its entire width from neckline to armscye
- Back shoulder seam extended by 1.8 cm, creating matching seam lengths of 14.1 cm after ease integration
- Back underarm point lowered by 1.0 cm, increasing the total armhole depth to 26.5 cm
- Sleeve cap center notch rotated forward by 1.5 cm to balance the garment’s pitch
- Project timeline: 110 minutes for drafting, 40 minutes for muslin test fitting, and 240 minutes for final construction
The resulting chore jacket hangs plumb along both side seams without pulling backward against the wearer’s neck. The lower back hem aligns parallel to the floor, providing unrestricted mobility when working at the bench.
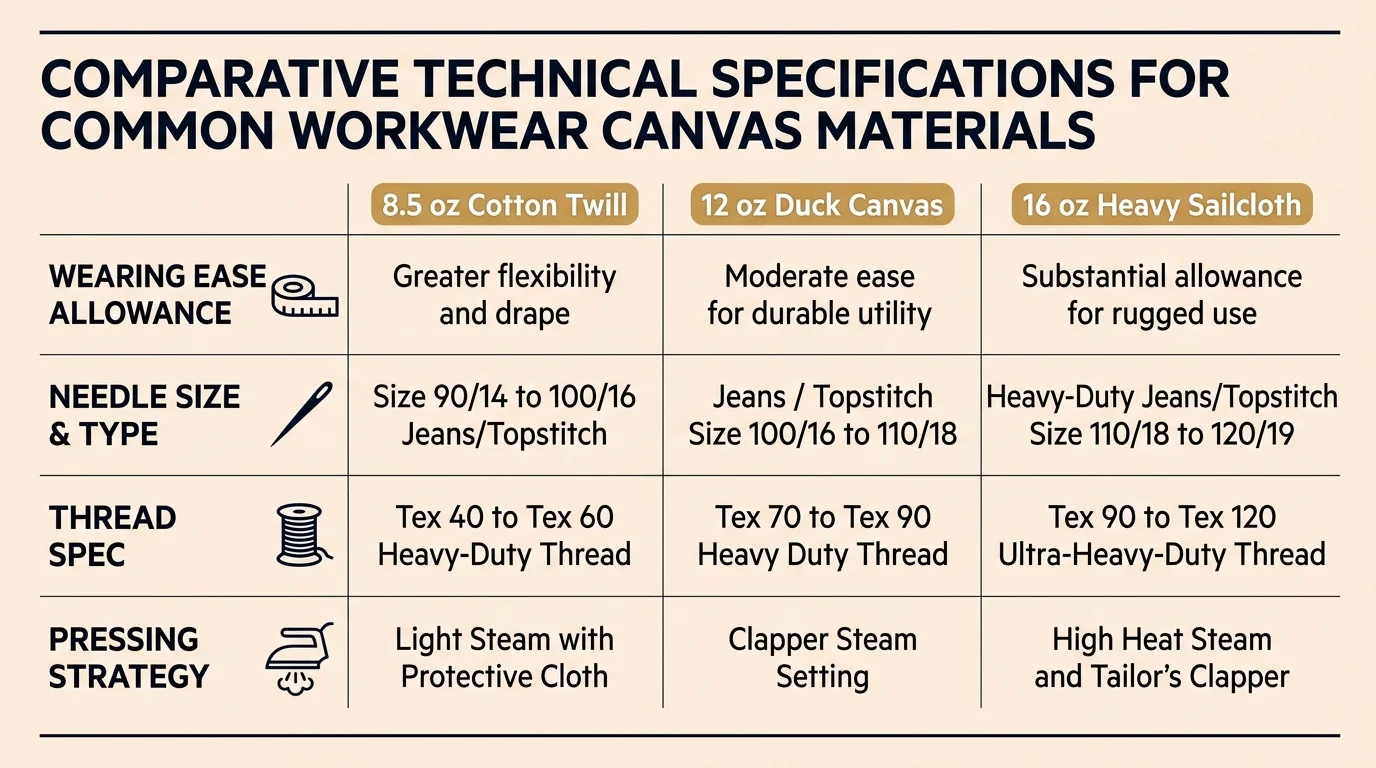
Comparing Canvas Weights, Ease Tolerances, and Needle Specs
Fabric density alters pattern drafting tolerances and machine requirements. Use this comparison table to calibrate your drafting ease, armscye adjustments, and machine tooling to your selected canvas weight.
| Canvas Type & Weight | Upper Back Ease Allowance | Armscye Depth Offset | Needle Size & System | Thread Specification |
|---|---|---|---|---|
| 8.5 oz Cotton Army Duck | 4.0 cm to 5.0 cm | +0.5 cm | 90/14 Jeans (Schmetz 130/705 H-J) | Tex 40 Core-Spun Polyester |
| 10.5 oz Deadstock Sailcloth | 5.5 cm to 6.5 cm | +0.8 cm | 100/16 Jeans (Schmetz 130/705 H-J) | Tex 60 Bonded Poly or Mara 70 |
| 12.0 oz Cone Mills Duck | 6.5 cm to 7.5 cm | +1.2 cm | 110/18 Jeans (Organ 130/705H) | Tex 80 Heavy Duty Topstitch |
| 14.5 oz Selvedge Bull Denim | 7.5 cm to 8.5 cm | +1.5 cm | 120/19 Industrial / Jeans | Tex 100 Heavy Workwear Thread |
Heavier canvas varieties demand greater back ease allowances because thick fibers take up internal space when bent around a body curve. Adding sufficient ease ensures you can layer a wool sweater underneath your jacket during cool autumn mornings.
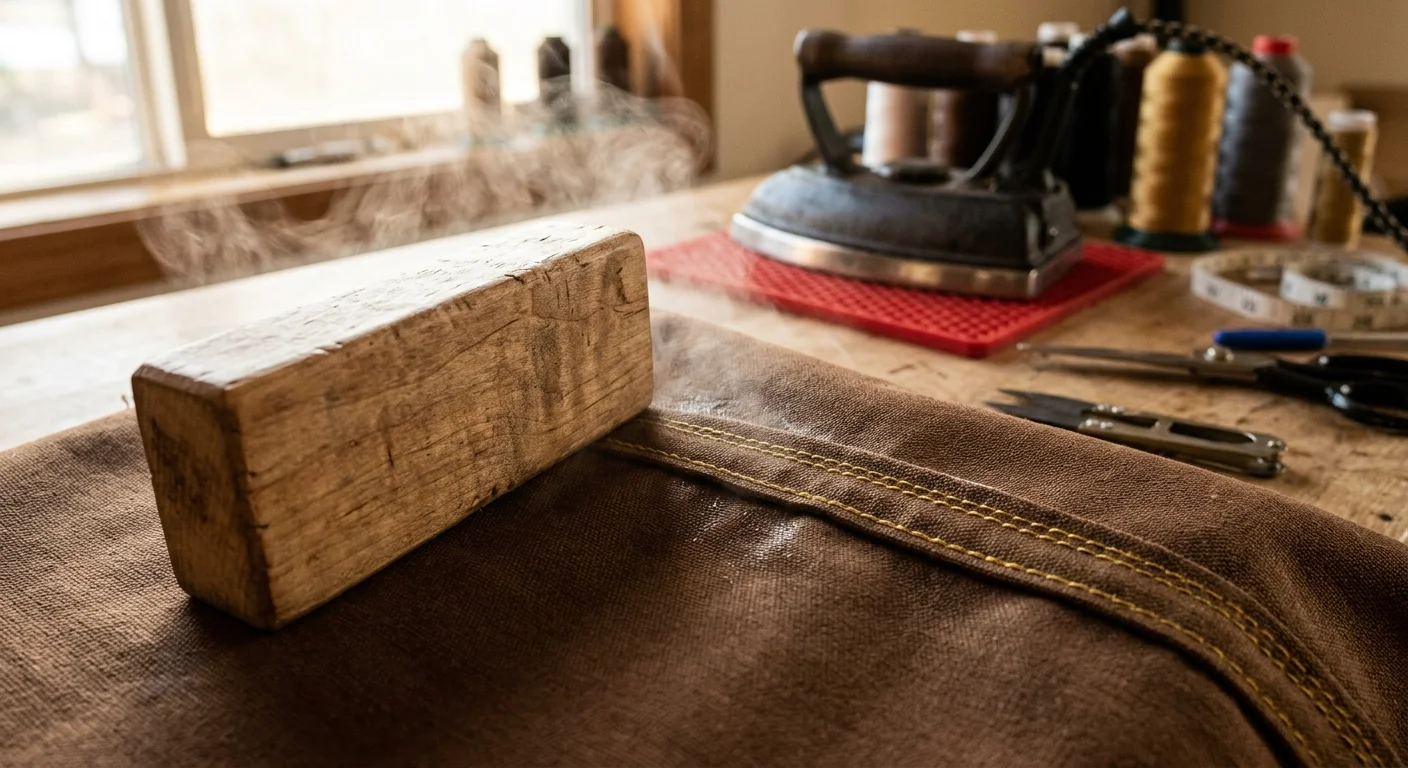
Heavy Canvas Construction and Seam Flattening Techniques
Sewing heavy workwear requires specialized construction habits to handle thick canvas layers without stalling your machine or breaking needles. Implement these mechanical steps when assembling your adjusted jacket pieces.
- Lengthen your straight stitch setting to 3.5 mm or 4.0 mm for structural seams to prevent perforating dense duck canvas fibers.
- Install a walking foot or roller presser foot to feed multiple layers of unyielding canvas evenly across feed dogs.
- Use a wooden tailor’s clapper and high-temperature steam to compress thick flat-felled seam allowances crisp and flat.
- Tap heavy intersecting shoulder and armscye seams with a raw-hide cobbler’s mallet to compress dense fabric ridges before topstitching.
- Trim inner seam allowance layers into graded steps (1/8-inch, 1/4-inch, and 3/8-inch) to prevent bulky ridges from pressing through.
- Finish raw armscye edges with 1/2-inch lightweight cotton herringbone twill tape for a clean, non-chafing interior finish.
Flat-felled seams offer the gold standard for rugged workwear durability and clean interior lines. Fold the back yoke seam allowance over the lower back panel to protect the joint against rain penetration.
Take your time pressing every seamline thoroughly as you sew. Quality bespoke workwear earns its character through deliberate craftsmanship and pattern lines drafted to celebrate your active retirement journey.
Frequently Asked Questions
How much ease should I add to a chore jacket for rounded shoulders?
Add 6.5 cm to 7.5 cm of total across-back wearing ease to your bespoke chore coat pattern when cutting 12-ounce canvas. This allowance accommodates natural forward reach without pulling the side seams forward.
Can I hide the back curve adjustment inside a horizontal yoke?
Yes, slicing through your shoulder blade line and absorbing the resulting dart fullness into a horizontal yoke seam completely conceals the adjustment. This drafting technique delivers functional ergonomic curvature while preserving authentic heritage workwear aesthetics.
Why does my jacket collar pull backward when I walk or reach forward?
A jacket pulls backward when the pattern lacks sufficient back neck-to-waist length or features shoulder seams placed too far rearward for your posture. The fabric binds across your upper back, anchoring against your shoulder blades and dragging the collar rearward.
What sewing machine needle works best for 12-ounce deadstock duck canvas?
Use a Schmetz or Organ size 100/16 or 110/18 Jeans/Denim needle featuring a reinforced shaft and acute modified ball point. This needle profile pierces dense canvas weaves cleanly without deflecting or skipping stitches across multiple seam intersections.
Disclaimer: This article is for informational and inspirational purposes. Life decisions are deeply personal, and we encourage readers to pursue their dreams while considering their unique circumstances, health, and financial situation.